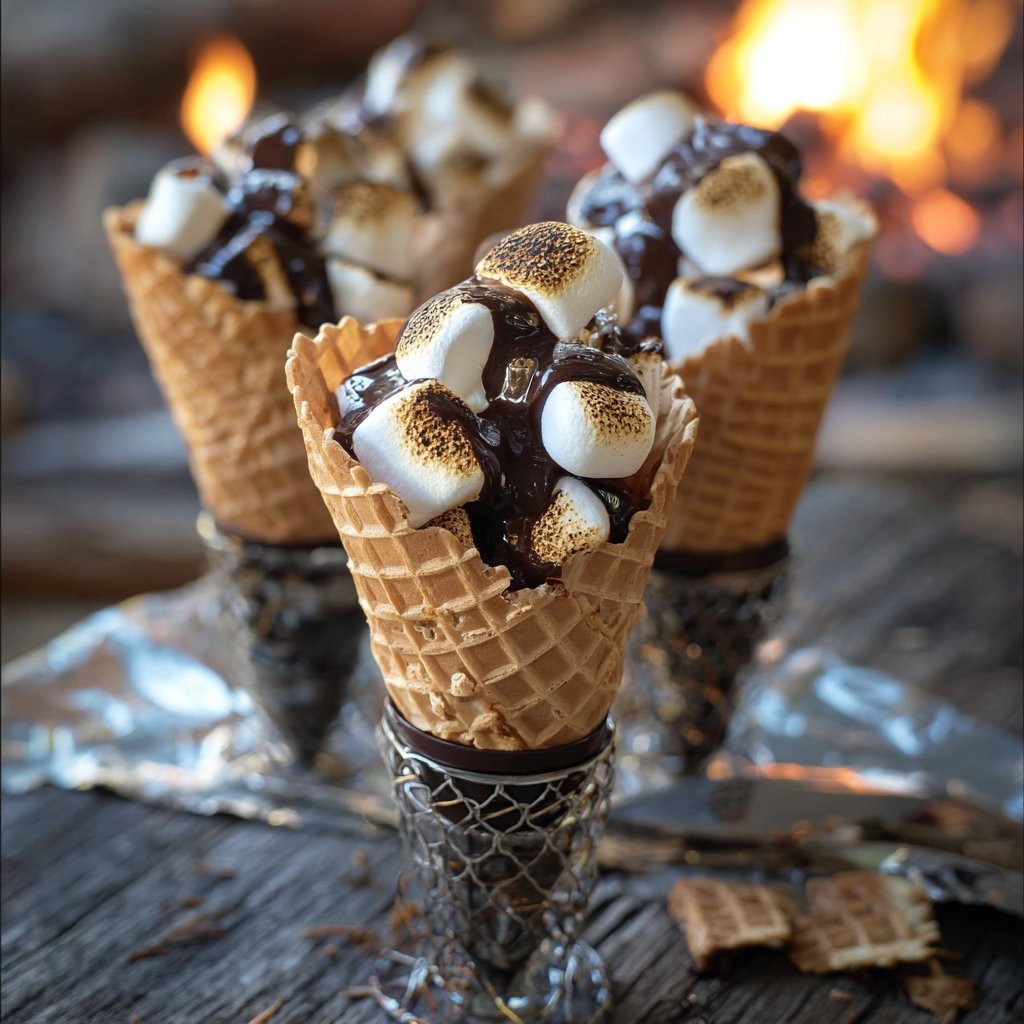
S’mores Cones

S’mores Cones are a fun and innovative twist on the classic campfire treat. They combine the beloved flavors of s’mores—chocolate, marshmallows, and graham crackers—into a convenient and easy-to-eat cone. Perfect for gatherings around the fire or backyard barbecues, S’mores Cones offer the joy of s’mores without all the mess.
Why Make This Recipe
S’mores Cones are not only simple to make, but they also bring an element of nostalgia and fun to any outdoor event. Kids and adults alike love the interactive process of filling the cones with their favorite ingredients. Plus, they are easily customizable, allowing everyone to create their ideal s’mores treat. Whether you’re camping, hosting a party, or just enjoying a night in, S’mores Cones are a delicious way to satisfy your sweet tooth.
How to Make S’mores Cones
Making S’mores Cones is straightforward and requires minimal preparation. Follow the steps below to create this delightful dessert.
Ingredients:
- Ice cream cones
- Mini marshmallows
- Chocolate chips
- Peanut butter (optional)
- Aluminum foil
Directions:
- Fill each ice cream cone with layers of mini marshmallows and chocolate chips. If desired, add a spoonful of peanut butter.
- Wrap each filled cone tightly in aluminum foil.
- Place the wrapped cones over the campfire or on a grill for about 5-10 minutes, until the chocolate and marshmallows are melted.
- Carefully unwrap the foil and enjoy your gooey s’mores treat!
How to Serve S’mores Cones
S’mores Cones can be served immediately after they are unwrapped to enjoy their warm, gooey goodness. You can also set up a DIY S’mores Cone station, allowing guests to customize their cones with various toppings such as crushed graham crackers, nuts, or different types of chocolate. For an added touch, serve them with plates and napkins to catch any melted chocolate or marshmallow drips.
How to Store S’mores Cones
For the best experience, S’mores Cones are best enjoyed fresh and warm. However, if you happen to have leftovers, store them in an airtight container in the refrigerator for up to one day. Reheating is not recommended, as the texture won’t be the same as when they are freshly made.
Tips to Make S’mores Cones
- For an extra crunchy texture, consider adding crushed graham crackers to the layers inside the cone.
- If you’re using the cones for kids, make sure to monitor their cooking time to prevent burning.
- Experiment with different types of chocolate, such as dark chocolate or white chocolate, to create unique flavor profiles.
Variation
S’mores Cones can easily be customized to fit various tastes. Swap out mini marshmallows for caramel bits or peanut butter chips for a different flavor. You can also use different types of cones, such as waffle cones, for added texture. For a gourmet twist, add fruits like bananas or strawberries before grilling.
FAQs
1. Can I make S’mores Cones in the oven?
Yes! Preheat your oven to 350°F (175°C). Place the filled cones on a baking sheet and bake for about 5-7 minutes, or until the chocolate and marshmallows are melted.
2. Are S’mores Cones suitable for vegans?
You can easily make vegan S’mores Cones by using dairy-free chocolate and marshmallows, and replacing peanut butter with a nut or seed butter of your choice.
3. How can I make S’mores Cones gluten-free?
Simply use gluten-free ice cream cones or substitute with fruit cups for a healthy and gluten-free alternative to traditional cones.
S'mores Cones

Ingredients
For the cones
- 4 pieces Ice cream cones
- 1 cup Mini marshmallows
- 1 cup Chocolate chips
- 4 tablespoons Peanut butter Optional
- 4 sheets Aluminum foil For wrapping
Instructions
Preparation
- Fill each ice cream cone with layers of mini marshmallows and chocolate chips. If desired, add a spoonful of peanut butter.
- Wrap each filled cone tightly in aluminum foil.
Cooking
- Place the wrapped cones over the campfire or on a grill for about 5-10 minutes, until the chocolate and marshmallows are melted.
- Carefully unwrap the foil and enjoy your gooey s'mores treat!