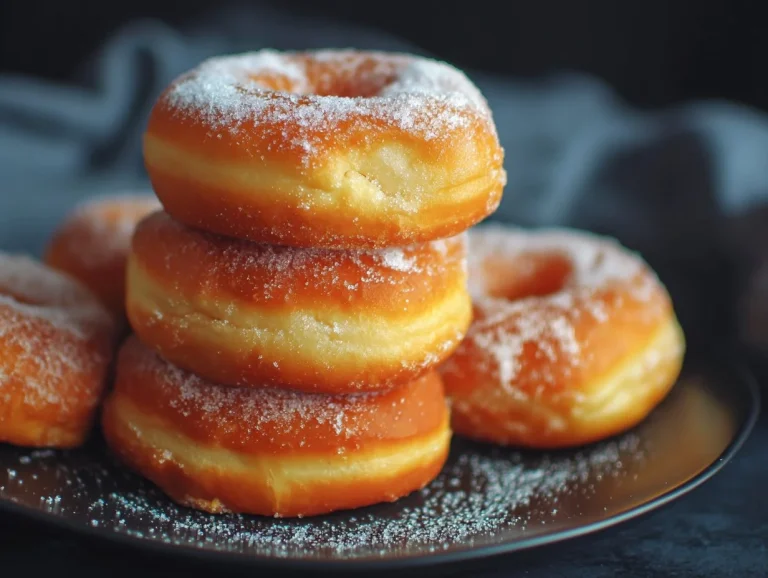
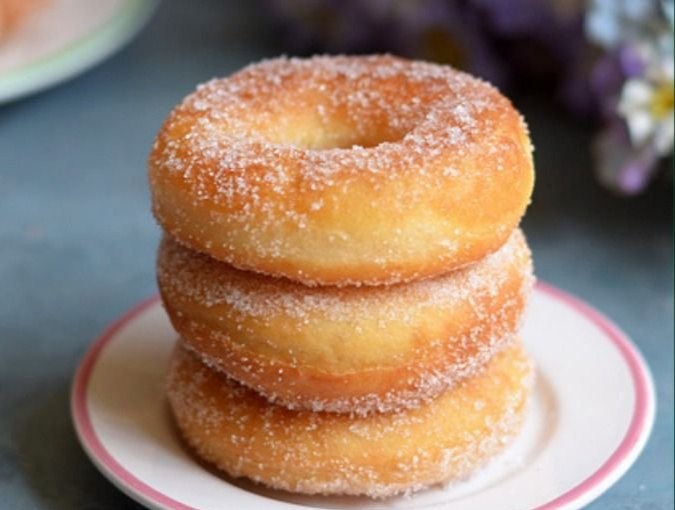
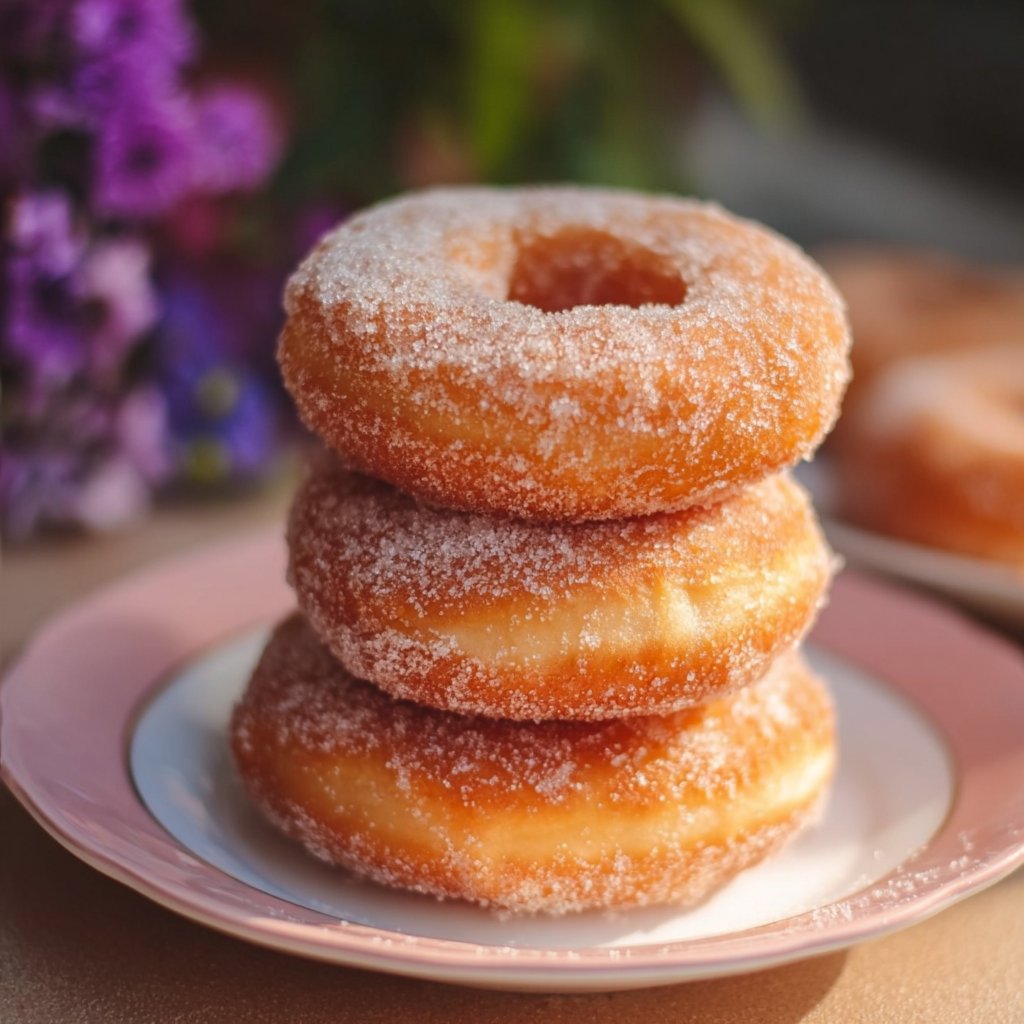
Easy Baked Donuts

I still remember the first time I pulled a tray of warm, perfectly ringed baked donuts from the oven — the house smelled like a bakery and the kids declared them “officially the best breakfast.” These Easy Baked Donuts are light, quick, and forgiving: no frying, minimal hands-on time, and a batter that comes together in one bowl. They’re exactly the kind of treat I turn to for a weekend brunch or an after-school snack when I want something homemade without a lot of fuss. If you like simple baked sweets or other approachable oven recipes, you might also enjoy this collection of easy weeknight bakes.
Why you’ll love this dish
These donuts hit a sweet spot between convenience and comfort. They bake in under 15 minutes, use pantry staples, and deliver a tender crumb with a subtle nutmeg warmth — perfect for dunking in coffee or serving to a crowd. They’re budget-friendly, kid-approved, and easy to adapt for flavor or dietary needs.
“Light, quick, and irresistibly homey — these baked donuts vanished before I could snap a photo.” — a friend who always brings dessert
Step-by-step overview
Before you dive in, here’s the quick process so you know what to expect:
- Whisk dry ingredients (flour, sugar, leaveners, salt, nutmeg).
- Whisk wet ingredients separately (milk, egg, melted butter, vanilla).
- Combine wet into dry until just mixed — don’t overwork.
- Pipe or spoon batter into greased donut pan, filling about two-thirds full.
- Bake 10–12 minutes until golden and a toothpick comes out clean.
- Cool briefly, remove, and glaze or dust as you like.
What you’ll need
- 1 cup all-purpose flour (spoon and level for accuracy; for a lighter donut, swap half for cake flour)
- 1/2 cup granulated sugar
- 1/2 teaspoon baking powder
- 1/4 teaspoon baking soda
- 1/4 teaspoon salt
- 1/2 teaspoon ground nutmeg (or 1/2 tsp cinnamon for a different spice profile)
- 1/2 teaspoon vanilla extract
- 1/2 cup milk (whole milk gives richer flavor; use plant-based milk for dairy-free)
- 1 large egg
- 2 tablespoons melted butter (substitute neutral oil for dairy-free)
Notes: If you need gluten-free donuts, use a 1:1 gluten-free flour blend and add a teaspoon of xanthan gum if your blend lacks it. For a lower-sugar version, reduce sugar to 1/3 cup and top with a thin glaze or dusting of powdered sweetener.
How to prepare it
- Preheat oven to 350°F (175°C). Grease a donut pan well with butter or nonstick spray.
- In a large bowl, whisk together flour, sugar, baking powder, baking soda, salt, and nutmeg.
- In a separate bowl, whisk milk, egg, melted butter, and vanilla until blended.
- Pour the wet mixture into the dry ingredients. Stir gently until just combined — a few small lumps are okay.
- Transfer batter to a piping bag or a zip-top bag with the corner snipped. Fill each donut cavity about two-thirds full.
- Bake 10–12 minutes, until the donuts are lightly golden and a toothpick inserted into the center comes out clean.
- Let the donuts cool in the pan 3–4 minutes, then transfer to a rack to cool slightly before glazing or serving.
- Serve warm or at room temperature. Enjoy!
Best ways to enjoy it
- Classic glaze: powdered sugar mixed with a splash of milk and vanilla, dipped while donuts are warm.
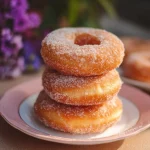
- Cinnamon-sugar: toss warm donuts in melted butter, then coat in cinnamon-sugar.
- Chocolate dip: melt chocolate and a bit of butter or oil, dip and top with chopped nuts or sprinkles.
- Serve with coffee, hot chocolate, or a fruit compote for a brunch spread.
- For a grown-up twist, top with lemon glaze and a sprinkle of sea salt, or drizzle with salted caramel.
Storage and reheating tips
- Counter: Store cooled donuts in an airtight container at room temperature for up to 2 days.
- Refrigerator: Keep in an airtight container up to 5 days, though texture can dry slightly.
- Freezing: Flash-freeze on a tray, then transfer to a freezer bag for up to 1 month. Thaw at room temperature or gently warm.
- Reheating: Microwave a single donut for 8–10 seconds to warm. For a fresher exterior, reheat in a 300°F (150°C) oven for 5–7 minutes.
Food safety: Donuts with perishable fillings or dairy-heavy glazes should be refrigerated and consumed within 2 days.
Helpful cooking tips
- Measure flour accurately: spoon into the cup and level with a knife. Too much flour makes dense donuts.
- Don’t overmix: stirring until just combined keeps the texture light. Overworking activates gluten and yields chewy donuts.
- Fill evenly: use a piping bag or zip-top bag to fill the molds uniformly so baking times stay consistent.
- Use room-temperature ingredients for better emulsion and even baking.
- If you don’t have a donut pan, use a muffin tin and reduce baking time slightly — fill cups halfway for mini donut-like muffins. For more on working with quick doughs, see these practical dough tips.
Creative twists
- Maple-glazed: swap vanilla for maple extract and glaze with pure maple syrup and powdered sugar.
- Chocolate-studded: fold 2–3 tablespoons mini chocolate chips into the batter.
- Pumpkin spice: add 1/4 cup pumpkin purée, reduce milk to 1/4 cup, and increase spice to a pumpkin pie mix.
- Lemon poppy: add 1 tsp lemon zest and 1 tbsp poppy seeds, finish with lemon glaze.
- Vegan: replace egg with a flax egg (1 tbsp ground flax + 3 tbsp water), use plant milk and oil instead of butter.
- Savory-sweet: add a touch of grated cheddar and chopped herbs for a savory breakfast donut.
Common questions
Q: Can I make the batter ahead of time?
A: You can mix dry and wet components separately and combine just before baking. Fully mixed batter is best baked immediately; leavening loses power if held too long.
Q: No donut pan — will they still work?
A: Yes. Use a muffin tin for donut-style muffins or make your own rings on a parchment-lined baking sheet using a piping bag, though shape may be irregular.
Q: How do I know when they’re done?
A: They’re done when edges turn golden and a toothpick inserted into the center comes out clean or with a few moist crumbs. Don’t rely on color alone — oven variances matter.
Q: Can I add fillings like jam or custard?
A: Yes. Cool donuts completely, then pipe in fillings with a small nozzle. Filled donuts should be refrigerated if the filling is perishable.
Q: Are these donuts healthy?
A: They’re lighter than fried donuts but still a sweet treat. Use whole-grain flour, reduce sugar, or add fruit purée for slightly healthier swaps.
Conclusion
If you enjoyed this easy method, you might like other takes on baked donuts — for more ideas and alternative recipes, check out baked donuts – Girl Versus Dough and Easy Homemade Baked Doughnuts | Olive & Mango. These links offer different glazes, techniques, and flavor ideas to expand on this simple base.
Easy Baked Donuts
Ingredients
Dry Ingredients
- 1 cup all-purpose flour spoon and level for accuracy; for lighter donuts, swap half for cake flour
- 1/2 cup granulated sugar reduce to 1/3 cup for lower sugar version
- 1/2 teaspoon baking powder
- 1/4 teaspoon baking soda
- 1/4 teaspoon salt
- 1/2 teaspoon ground nutmeg or 1/2 tsp cinnamon for a different spice profile
Wet Ingredients
- 1/2 teaspoon vanilla extract
- 1/2 cup milk whole milk gives richer flavor; use plant-based milk for dairy-free
- 1 large egg substitute with flax egg for vegan option
- 2 tablespoons melted butter substitute neutral oil for dairy-free
Instructions
Preparation
- Preheat oven to 350°F (175°C). Grease a donut pan well with butter or nonstick spray.
- In a large bowl, whisk together flour, sugar, baking powder, baking soda, salt, and nutmeg.
- In a separate bowl, whisk milk, egg, melted butter, and vanilla until blended.
- Pour the wet mixture into the dry ingredients. Stir gently until just combined — a few small lumps are okay.
Baking
- Transfer batter to a piping bag or a zip-top bag with the corner snipped. Fill each donut cavity about two-thirds full.
- Bake 10–12 minutes, until the donuts are lightly golden and a toothpick inserted into the center comes out clean.
- Let the donuts cool in the pan 3–4 minutes, then transfer to a rack to cool slightly before glazing or serving.