Easy Homemade Canned Dill Pickles
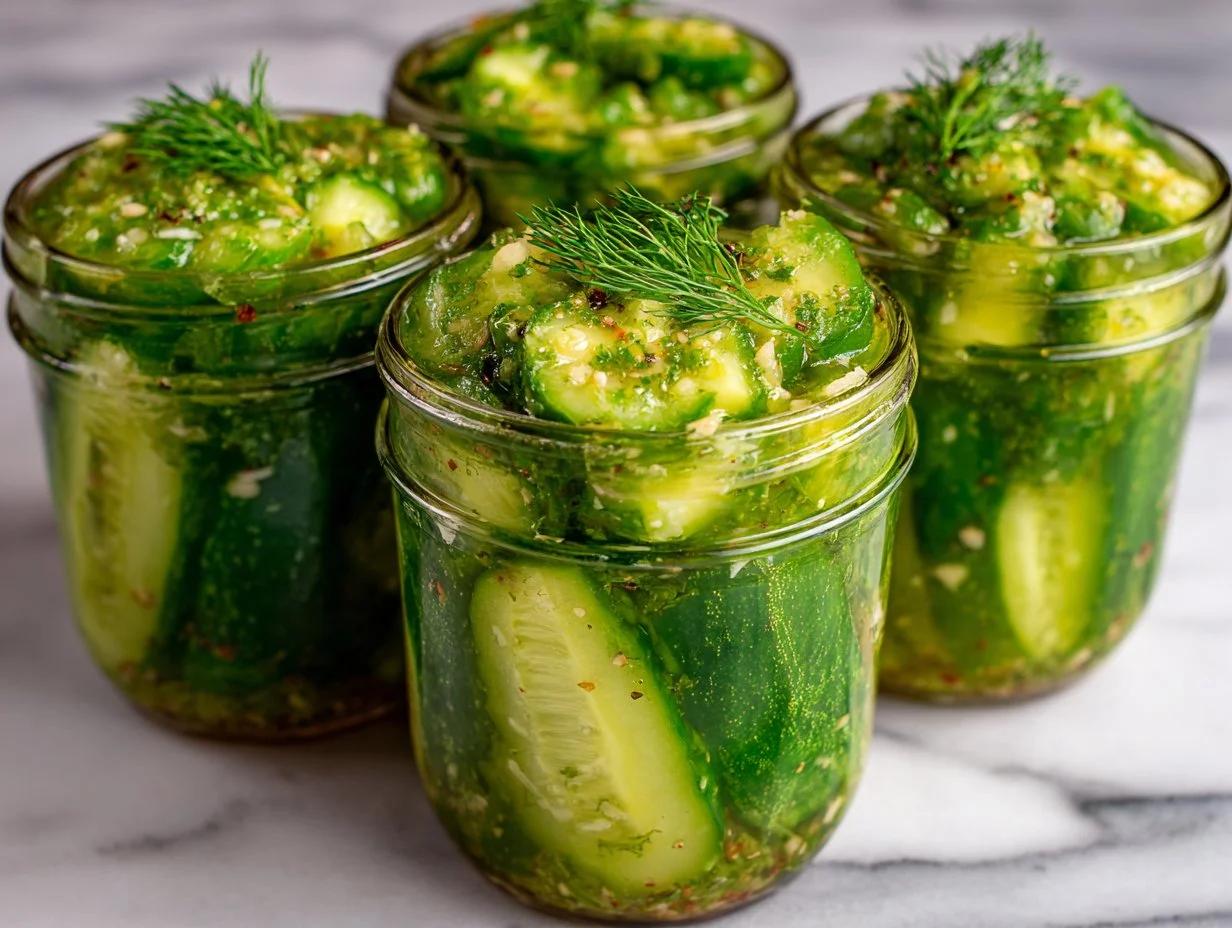
I first made these Easy Homemade Canned Dill Pickles on a late summer afternoon when the garden cucumbers were threatening to take over my counter. They’re crisp, garlicky, and bright — the kind of jar you reach for when you want a crunchy bite on a sandwich, a tangy snack, or a flavorful addition to a picnic platter. This method uses a simple hot brine and a short water-bath process so you can store jars on the pantry shelf and enjoy homemade pickles all year long. If you love baking and preserving in the same weekend, they pair beautifully with homemade bread recipes like my quick pizza dough inspiration: no-yeast pizza dough for a rustic, deli-style spread.
Why you’ll love this dish
These canned dill pickles are straightforward, pantry-friendly, and reliably crisp. They don’t require complicated spice blends or long fermentations — just good cucumbers, garlic, dill, and a hot vinegar brine. They’re ideal when you want to preserve a bumper crop, make hostess gifts, or add brightness to weeknight sandwiches or charcuterie boards.
“The jars were ready in a week and every bite had that bright, old-fashioned pickle crunch — perfect on burgers and by the forkful.” — a regular in my kitchen
Benefits at a glance:
- Quick brine and short processing time.
- Uses inexpensive, seasonal cucumbers.
- Shelf-stable after proper canning — great for gifting and pantry-stocking.
- Flexible: make spears or slices depending on use.
Step-by-step overview
Before you dive in, here’s what happens in the recipe so you know what to expect:
- Sterilize jars and lids to ensure a safe seal.
- Wash and cut cucumbers into spears or slices.
- Make a hot brine (vinegar, water, salt, sugar) and dissolve everything.
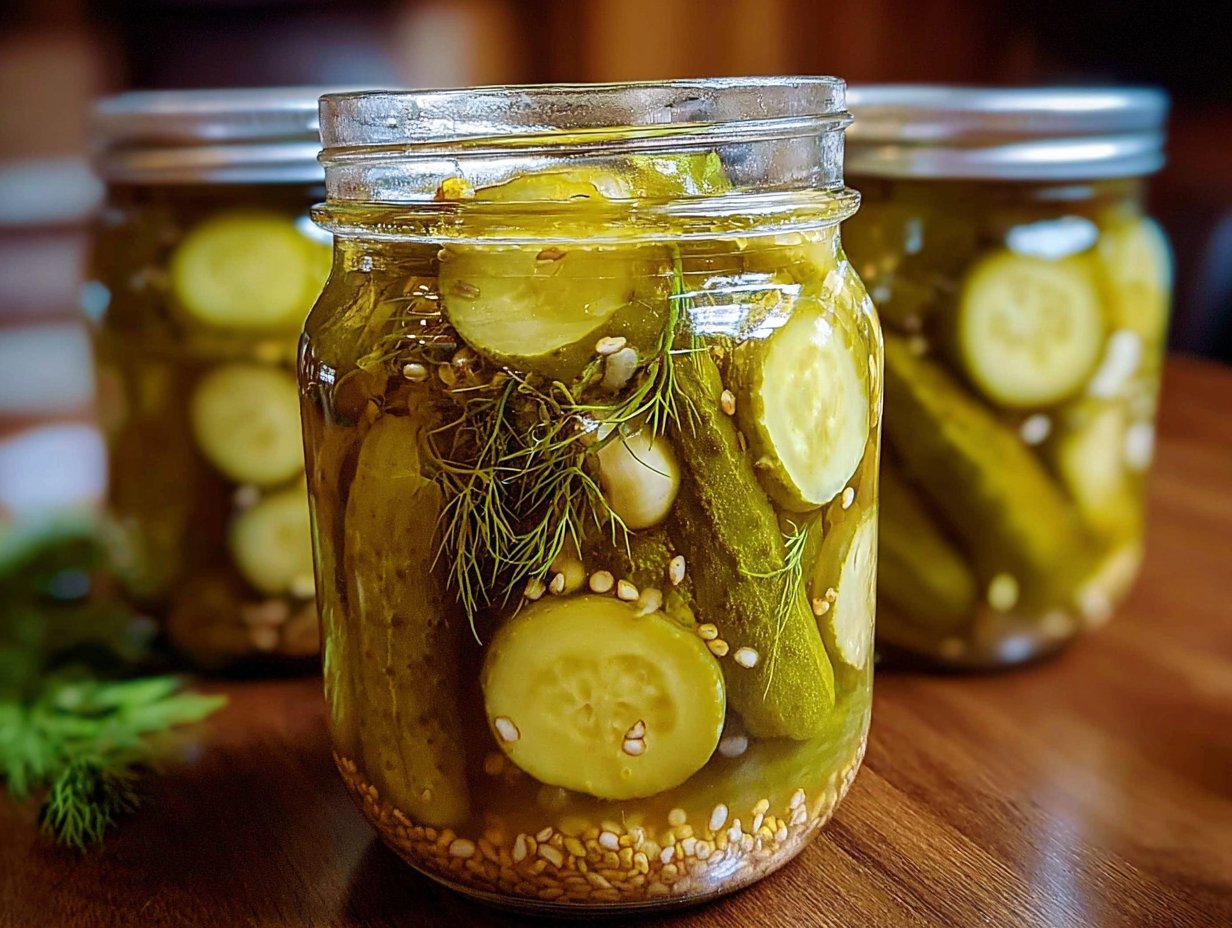
- Pack jars with cucumbers, garlic, and dill.
- Pour boiling brine over cucumbers, leave proper headspace, and seal.
- Process jars in a boiling-water bath for 10 minutes (adjust for altitude).
- Let jars cool and store unopened jars in a cool, dark place.
This overview helps you move smoothly through the timeline — prepping jars first, cutting cucumbers while brine heats, packing quickly while everything is hot.
What you’ll need
- 4 cups firm cucumbers (Kirby or Persian are best; English or small pickling cukes work too)
- 1 cup white vinegar (5% acidity)
- 1 cup water
- 2 tablespoons granulated sugar (optional; balances flavor)
- 2 tablespoons pickling salt (use kosher salt as a substitute — reduce slightly and avoid iodized table salt)
- 4 garlic cloves, peeled and crushed
- Fresh dill sprigs (1–2 per jar)
Notes and substitutions:
- Vinegar: use plain white vinegar (5% acidity). Do not dilute with weaker vinegar.
- Salt: pickling salt dissolves cleanly. If using kosher salt, measure by weight or slightly reduce volume.
- Sugar: optional — skip for a tart pickle or increase for bread-and-butter style.
- Herbs/spices: add mustard seeds, peppercorns, or red pepper flakes for extra interest.
Serve these with soft, warm snacks like homemade pretzels — they’re a classic pairing: easy soft pretzels.
How to prepare it
- Sterilize jars and lids: Submerge clean jars and lids in a large pot of boiling water for 10 minutes. Keep them hot until ready to fill.
- Prepare cucumbers: Rinse cucumbers, trim the blossom end (it can cause softening), and cut into spears or 1/4-inch slices depending on preference.
- Make the brine: In a medium pot, combine 1 cup white vinegar, 1 cup water, 2 tbsp granulated sugar, and 2 tbsp pickling salt. Heat until the salt and sugar dissolve and the mixture just comes to a boil. Remove from heat.
- Pack jars: Place 1 crushed garlic clove and a sprig (or two) of dill into each warm jar. Pack cucumbers into jars vertically for spears or loosely for slices, leaving about 1/2 inch headspace.
- Add brine: Pour the hot brine over the cucumbers, filling to within 1/2 inch of the rim. Use a non-metal utensil to release air bubbles by sliding it around the jar.
- Seal and process: Wipe rims, place lids and screw bands on fingertip-tight. Process jars in a boiling-water bath for 10 minutes (see altitude note below).
- Cool: Remove jars and set on a towel, undisturbed, for 12–24 hours. Check seals; lids should be concave and not flex when pressed. Label and store.
Safety note: This recipe calls for a 10-minute water-bath process at sea level. If you’re canning above sea level, increase processing time per guidance: +1 minute for 1,001–3,000 ft; +2 minutes for 3,001–6,000 ft; +3 minutes for 6,001–8,000 ft; +4 minutes for 8,001–10,000 ft. Always follow your local extension or USDA resources for up-to-date canning safety.
Best ways to enjoy it
- Sandwich upgrade: Add slices to deli-style sandwiches, Reubens, or grilled cheese.
- Snack plate: Pair spears with sharp cheddar, cured meats, and crusty bread.
- Cook’s helper: Chop pickles into relishes for potato salad, tartar sauce, or deviled eggs.
- Party food: Serve with soft pretzels and mustard for a game-day board.
For a picnic-ready spread, layer jars with other preserved bites and a loaf of bread — it’s an easy crowd-pleaser.
Storage and reheating tips
- Unopened jars: Store in a cool, dark pantry for up to 1 year. Check seals before using.
- Opened jars: Refrigerate after opening and use within 1–2 months for best texture and flavor.
- Freezing: Not recommended — freezing ruins the cucumber crunch.
- Reheating: No reheating needed. If you prefer warmer pickles for a cooked dish, add chopped pickles near the end of cooking to avoid dulling their brightness.
Food-safety reminder: Discard any jar with an unsealed lid, off smell, or signs of spoilage. When in doubt, throw it out.
Pro chef tips
- Keep cucumbers cold and crisp: Place cut cucumbers in ice water for 30 minutes before packing to boost crunch.
- Trim blossom ends: Cutting off the blossom end (1/16–1/8 inch) helps prevent softening.
- Headspace matters: Leave 1/2 inch headspace so jars vacuum properly.
- Remove air bubbles: Slide a non-reactive spatula between jar and contents to release trapped air before sealing.
- Use fresh dill: Flowering dill heads add the best dill flavor; fronds work well too.
- Scale easily: Multiply ingredients while keeping the vinegar-to-water ratio equal if you double or triple the batch.
For quick weekend snacks and complementary recipes, I often pair jars with warm baked goods like these soft pretzels: easy soft pretzels.
Creative twists
- Spicy dill: Add 1/2 tsp red pepper flakes or a sliced jalapeño per jar.
- Garlic-heavy: Double the garlic for a punchier, more savory pickle.
- Bread-and-butter style: Increase the sugar to 1/3–1/2 cup and add 1 tsp mustard seeds per jar.
- Low-sodium: Use less salt and keep jars refrigerated (note: shelf-stability may be affected).
- Herb swaps: Try tarragon or cilantro for a different herbal profile.
- Quick refrigerator pickles: Skip canning and pour hot brine over cucumbers, cool, and refrigerate for up to 2 weeks (texture will be slightly different).

Your questions answered
Q: How long do these canned pickles take to be ready to eat?
A: You can eat them as soon as jars cool, but flavor improves after 1–2 weeks as the brine permeates the cucumbers. Crunch is best if used within a few months.
Q: Can I use regular white table salt instead of pickling salt?
A: Table salt is fine for flavor but often contains anti-caking agents that can cloud brine and slightly alter taste. If you use table salt, use a little less and be aware of the difference. Pickling or kosher salt is recommended.
Q: Is the vinegar strength important?
A: Yes. Use vinegar labeled 5% acidity (regular white vinegar). Lower acidity vinegars won’t safely preserve in the same way.
Q: Are homemade canned pickles safe from botulism?
A: Proper acidity (5% vinegar) and correct water-bath processing make this recipe safe. Always follow tested recipes and adjust processing for altitude. Discard jars with any sign of spoilage or an unsealed lid.
Q: Can I reuse jars from store-bought pickles?
A: Yes, as long as lids are replaced with new canning lids. Reused jars should be sterilized before canning.
Conclusion
If you want a straightforward, pantry-storable pickle with bright dill and garlic flavor, this Easy Homemade Canned Dill Pickles method delivers. For another tested take that walks through similar steps and variations, see this detailed guide from Homemade Canned Dill Pickles – I Wash You Dry. If you prefer video demonstrations or a slightly different spice profile, Canned Dill Pickles Recipe (With Video) – Wyse Guide is a helpful companion to try alongside this recipe. Enjoy your jars — they make great gifts and even better snacks.
Canned Dill Pickles
Ingredients
For the pickles
- 4 cups firm cucumbers (Kirby or Persian are best) Other types like English or small pickling cucumbers work too.
- 1 cup white vinegar (5% acidity) Do not dilute with weaker vinegar.
- 1 cup water
- 2 tablespoons granulated sugar Optional; balances flavor.
- 2 tablespoons pickling salt Use kosher salt as a substitute but reduce slightly.
- 4 cloves garlic, peeled and crushed
- 1-2 sprigs fresh dill per jar Use flowering dill heads for best flavor.
Instructions
Preparation
- Sterilize jars and lids by submerging them in boiling water for 10 minutes. Keep them hot until ready to fill.
- Rinse cucumbers, trim the blossom end, and cut into spears or 1/4-inch slices.
- In a medium pot, combine white vinegar, water, granulated sugar, and pickling salt. Heat until dissolved and the mixture just comes to a boil. Remove from heat.
- Place one crushed garlic clove and a sprig of dill into each warm jar. Pack cucumbers into jars vertically for spears or loosely for slices, leaving about 1/2 inch of headspace.
- Pour the hot brine over the cucumbers, filling to within 1/2 inch of the rim. Use a non-metal utensil to release air bubbles.
- Wipe the rims, place lids and screw bands on fingertip-tight.
Processing
- Process jars in a boiling-water bath for 10 minutes (adjust for altitude if necessary).
- Remove jars and set them undisturbed on a towel for 12–24 hours.
- Check seals; lids should be concave and not flex when pressed.
- Label and store unopened jars in a cool, dark place.