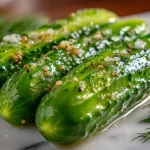
Dill Pickles
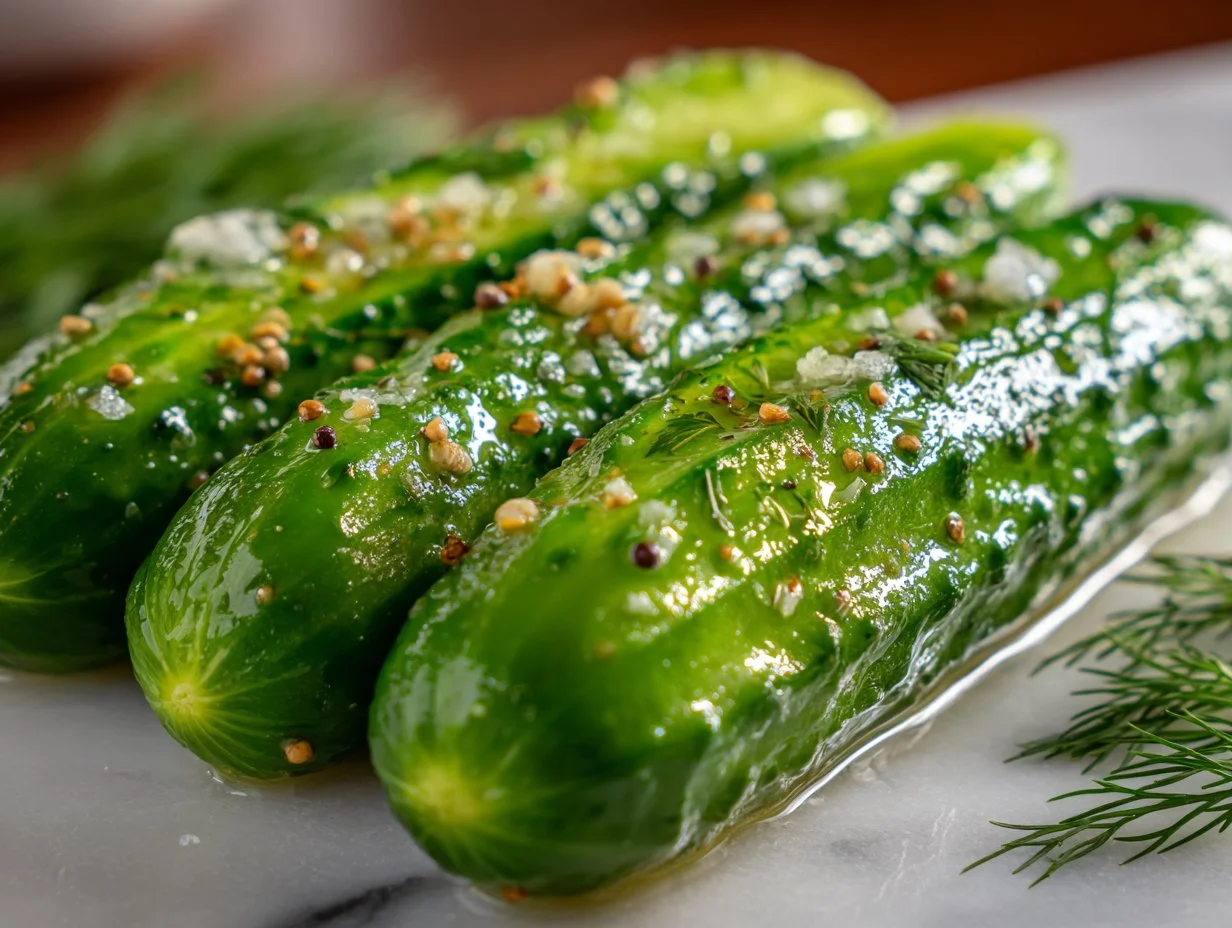
I remember the first time I made these dill pickles — the sharp snap of the cucumber, the bright dill, and just enough garlic to make every bite sing. These are classic refrigerator dill pickles: simple, fast, and perfect for when you want crunchy tang without the fuss of canning. They’re great for snacking, topping burgers, or adding to a picnic spread.
Why you’ll love this dish
Homemade dill pickles give you crisp texture and bright, vinegary flavor made from ingredients you likely already have. This recipe is budget-friendly, quick to assemble, and kid-friendly (adjust the garlic and spice to taste). Because it’s a refrigerator method, you don’t need a water bath or special equipment — just clean jars and a little patience for maximum flavor.
“Best quick pickle I’ve made at home — crunchy on day one and even better after a week. Simple ingredients, huge payoff.”
How this recipe comes together
This is a quick-pickle, refrigerator-style method. First you prep and slice the cucumbers. Next you heat a simple brine of equal parts water and white vinegar with salt to dissolve it. Pack clean jars with cucumbers, fresh dill, garlic, and whole spices. Pour the hot brine over the jars, seal, cool, then refrigerate. The pickles are edible in 24 hours but reach peak flavor after about a week. If you like a fried option, try a crunchy snack using an air fryer like this recipe I tried recently: Air Fryer Fried Pickles.
What you’ll need
- Cucumbers — small pickling cucumbers are best for crunch (or use Kirby or Persian cucumbers).
- Fresh dill — whole sprigs for that classic aroma.
- Garlic cloves — crushed or lightly smashed for flavor.
- White vinegar — provides tang and preserves texture (use 5% acidity).
- Water — mixed 1:1 with vinegar.
- Salt — kosher or pickling salt (table salt is fine but adjust amount).
- Whole peppercorns — about 6–8 per jar for a peppery pop.
- Mustard seeds — a teaspoon per jar adds warmth.
Notes and substitutions:
- For sweeter “bread-and-butter” style pickles, add 1–2 tbsp sugar per cup of brine.
- If you can’t find fresh dill, dill seed works but the flavor is different.
- Use a pinch less salt if you’re watching sodium. For a spicy kick, add red pepper flakes or a sliced jalapeño.
For a spicy chip-style twist, these air fryer spicy dill chips show a fun way to use pickled slices: Air Fryer Spicy Dill Pickle Chips.

Step-by-step instructions
- Wash cucumbers well. Slice them into spears or rounds to your liking. Pat dry.
- Combine equal parts water and white vinegar in a pot. Add salt. Heat until the salt dissolves and the brine is just at a boil. Remove from heat.
- In clean jars, layer cucumbers with fresh dill sprigs, smashed garlic cloves, 6–8 peppercorns, and 1 tsp mustard seeds. Pack tightly but without crushing.
- Pour the hot vinegar solution over the cucumbers until the jars are full, leaving about 1/4 inch headspace. Tap jars gently to remove air bubbles.
- Seal jars with lids and let them cool to room temperature. Refrigerate. Wait at least 24 hours before tasting; for best flavor, let sit 7 days.
Best ways to enjoy it
- Slice onto burgers, sandwiches, or hot dogs for an instant lift.
- Chop and stir into potato salad, tuna salad, or chopped egg salad for brightness. Pair a pickle alongside a simple cheddar-egg quesadilla for a salty, tangy contrast: Cheddar Egg Quesadilla.
- Serve spears on a charcuterie board, or dice and sprinkle over tacos or grain bowls for crunch.
- Try them as a palate cleanser between rich bites — they’re perfect with fried foods and rich cheeses.
Storage and reheating tips
- These are refrigerator pickles, not shelf-stable. Always store in the fridge.
- Properly sealed and refrigerated, they keep their best quality for 4–8 weeks. Flavor intensifies over time.
- Do not freeze pickled cucumbers — freezing ruins the texture.
- Use clean utensils when removing pickles from the jar to avoid contamination. If you see cloudiness, off smells, or mold, discard the jar.
- If you want shelf stability, follow a tested water-bath canning recipe instead of this refrigerator method.
Pro chef tips
- Start with firm, newly harvested or recently bought cucumbers — the crunch makes the pickle.
- Slice evenly so brine penetrates uniformly. Spear cuts hold up better for long fridge storage.
- Heat the brine enough to dissolve the salt; you don’t need a rolling boil. Pouring hot brine helps extract flavor quickly.
- Use pickling or kosher salt if possible; table salt contains iodine and anti-caking agents that can slightly affect brine clarity.
- Bruise a clove of garlic or crush a seed to release more flavor. Add a grape leaf or a bay leaf to help retain crispness (optional).
- Label jars with date made — taste at 24 hours, and note when they hit your preferred flavor.
Creative twists
- Spicy garlic-dill: add sliced jalapeños and a teaspoon of red pepper flakes per jar.
- Bread-and-butter style: add 1–2 tbsp sugar per cup of brine and a few slices of onion.
- Horseradish-dill: include a small piece of fresh horseradish root for a sharper bite.
- Turmeric & coriander: add ground turmeric and a teaspoon of coriander seeds for color and warmth.
- To make fermented lacto pickles (no vinegar), follow a separate lacto-fermentation method using salt brine and room-temperature fermenting — that process requires different safety steps and equipment.

Your questions answered
Q: How long before homemade pickles are ready to eat?
A: They’re edible after 24 hours, but flavor improves over several days. For best depth, wait 5–7 days.
Q: Can I can these pickles for pantry storage?
A: This recipe is a refrigerator method and is not water-bath canned. To store at room temperature, use a tested canning recipe and follow proper water-bath processing guidelines.
Q: How salty should the brine be?
A: The recipe uses salt to taste and preservation. A common starting point is 1 tablespoon salt per 2 cups (1:1 water:vinegar) brine — adjust to preference and salt type.
Q: Can I reuse the brine?
A: Reusing brine from previously opened jars is not recommended for safety and flavor reasons. Make fresh brine for each batch.
Q: Why are my pickles soft?
A: Causes include overripe cucumbers, too little salt, or using water with a high pH. Use firm cucumbers, fresh brine, and consider adding tannin-rich grape leaves or cooling the cucumbers quickly after slicing.
Conclusion
If you want more recipe ideas and variations to compare techniques, try this bright, simple version from Dill Pickles Recipe – Love and Lemons or consult a step-by-step refrigerator method at Homemade Dill Pickles Recipe (Easy Refrigerator Method) | The Kitchn. Both are useful references when you’re ready to expand your pickling game.
Refrigerator Dill Pickles
Ingredients
Main Ingredients
- 4 cups small pickling cucumbers, sliced Or use Kirby or Persian cucumbers.
- 4 sprigs fresh dill Whole sprigs for that classic aroma.
- 4 cloves garlic, crushed Lightly smashed for flavor.
- 2 cups white vinegar (5% acidity) Provides tang and preserves texture.
- 2 cups water Mixed 1:1 with vinegar.
- 2 tablespoons kosher or pickling salt Adjust amount if using table salt.
- 6-8 pieces whole peppercorns For a peppery pop.
- 1 teaspoon mustard seeds Adds warmth to the pickles.
Instructions
Preparation
- Wash cucumbers well. Slice them into spears or rounds to your liking. Pat dry.
- Combine equal parts water and white vinegar in a pot. Add salt. Heat until the salt dissolves and the brine is just at a boil. Remove from heat.
- In clean jars, layer cucumbers with fresh dill sprigs, smashed garlic cloves, 6-8 peppercorns, and 1 teaspoon mustard seeds. Pack tightly but without crushing.
- Pour the hot vinegar solution over the cucumbers until the jars are full, leaving about 1/4 inch headspace. Tap jars gently to remove air bubbles.
Cooling and Storing
- Seal jars with lids and let them cool to room temperature.
- Refrigerate. Wait at least 24 hours before tasting; for best flavor, let sit 7 days.