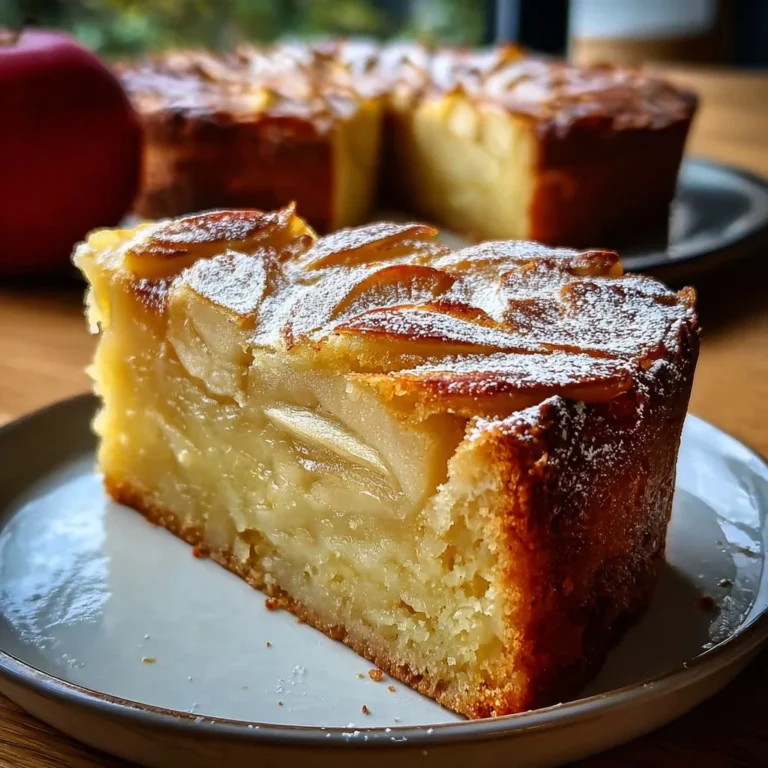
Apple Bars
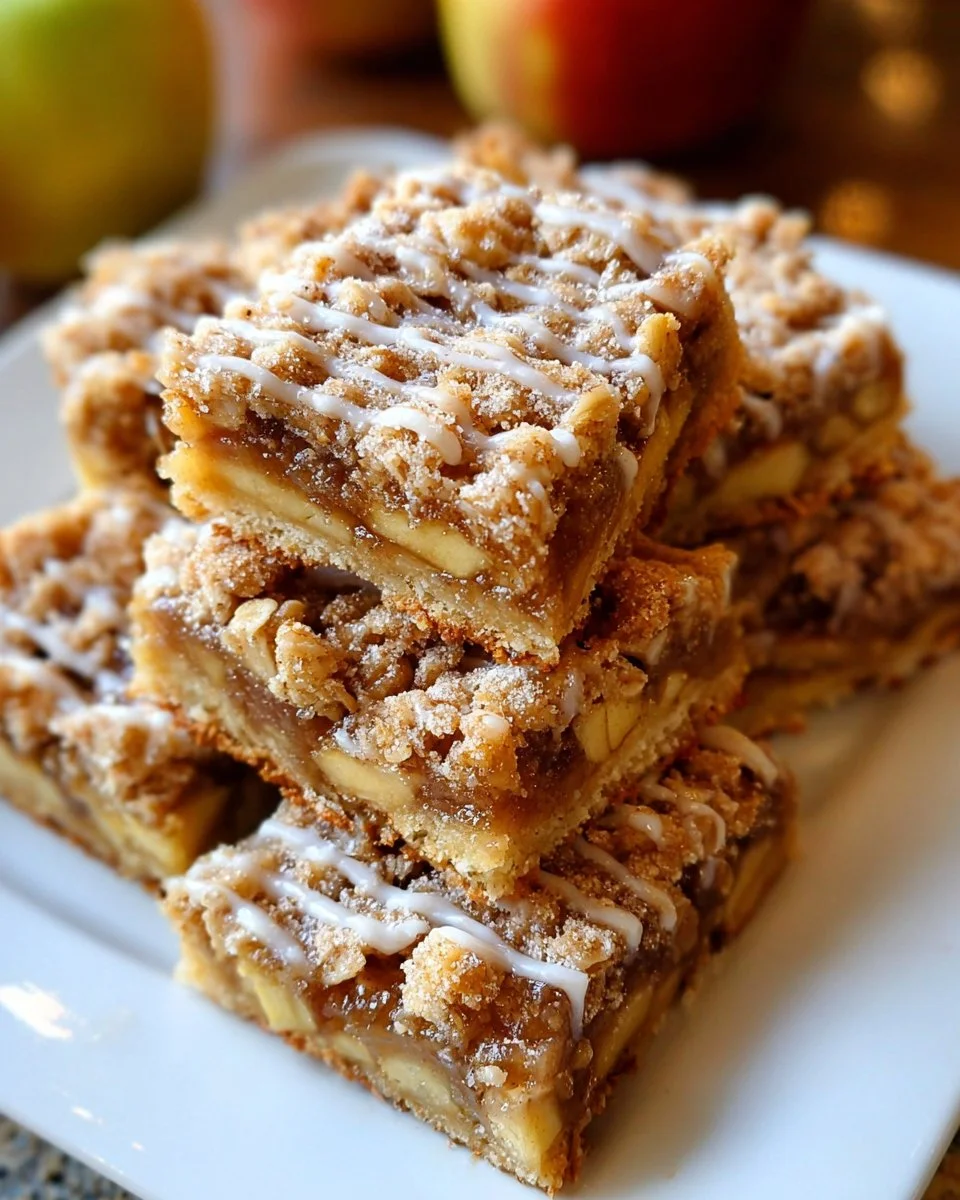
Apple Bars are a delightful dessert that perfectly combines the warmth of spices with the deliciousness of fresh apples. They are an ideal sweet treat that can be enjoyed any time of the year, whether for a family gathering, as a cozy afternoon snack, or a charming addition to your dessert table. With their slightly chewy texture and a hint of cinnamon, these bars are sure to please.
Why Make This Recipe
There are countless reasons to whip up a batch of Apple Bars. Firstly, they are incredibly easy to prepare, making them suitable for bakers of all skill levels. The combination of oats and apples not only brings out a wonderful flavor but also adds a hearty twist to a classic dessert. Furthermore, these bars can be enjoyed on their own or paired with a scoop of vanilla ice cream for an indulgent treat. The versatility of this recipe allows you to make it suited for various occasions, from a casual family dinner to a festive holiday gathering.
How to Make Apple Bars
Making Apple Bars is simple and straightforward. You’ll begin by preparing the crust, followed by the filling made from fresh apples, and finally topping it all off with a crumbly oat mixture. Here’s how you can create these delicious bars step by step.
Ingredients:
- 2 cups all-purpose flour
- 1 1/2 cups old-fashioned oats
- 1/2 cup granulated sugar
- 3/4 cup brown sugar
- 1 cup unsalted butter, cold and cubed
- 1/2 teaspoon salt
- 1 1/2 teaspoons ground cinnamon
- 1/4 teaspoon nutmeg (optional)
- 3 cups apples, peeled and chopped
- 1 tablespoon lemon juice
- 1 tablespoon cornstarch
- 1 teaspoon vanilla extract
- 1/2 cup powdered sugar
- 1–2 tablespoons milk (for glaze)
Directions:
- Preheat your oven to 350°F and line a 9×13-inch pan with parchment paper.
- In a large bowl, mix together the flour, oats, granulated sugar, brown sugar, salt, and cinnamon. Cut in the cold, cubed butter until the mixture is crumbly.
- Reserve 1 ½ cups of the mixture for topping. Press the remaining mixture evenly into the bottom of the prepared pan and bake for 10 to 12 minutes, or until lightly golden.
- In a separate bowl, toss the chopped apples with lemon juice, cornstarch, vanilla extract, cinnamon, and nutmeg (if using).
- Spread the apple mixture evenly over the baked crust. Sprinkle the reserved topping over the apples.
- Bake for an additional 30 to 35 minutes until the mixture is golden brown and bubbly.
- Allow the bars to cool completely in the pan before slicing.
- Whisk together the powdered sugar and milk to create a glaze. Drizzle this over the cooled bars before serving.
How to Serve Apple Bars
Apple Bars can be served warm or at room temperature. For an extra special touch, consider serving them with a scoop of vanilla ice cream or a dollop of whipped cream. A sprinkle of extra cinnamon on top or some caramel sauce drizzled over can enhance the flavors even further. These bars can also be enjoyed as a breakfast treat alongside coffee or tea.
How to Store Apple Bars
To store your Apple Bars, allow them to cool completely after baking. Once cooled, you can keep the bars in an airtight container at room temperature for up to three days. For longer storage, place them in the refrigerator where they can last for up to a week. If you want to keep them even longer, consider freezing them in an airtight container, where they’ll stay fresh for up to three months.
Tips to Make Apple Bars
- Make sure your butter is cold and cubed to achieve a crumbly texture in the crust.
- Use a variety of apples for a more complex flavor. Granny Smith, Honeycrisp, and Fuji apples all make great choices.
- Feel free to adjust the spices according to your taste. If you love cinnamon, don’t hesitate to add more!
- For a nutty twist, consider adding chopped walnuts or pecans to the topping.
Variation
For a fun variation, you can add dried fruits such as cranberries or raisins to the apple mixture. You can also experiment with different types of nuts, like pecans or almonds, in the topping for added texture and flavor. Additionally, substituting half the all-purpose flour with oatmeal can provide an even chewier bar.
FAQs
1. Can I use frozen apples for this recipe?
Yes, you can use frozen apples! Just make sure to thaw them completely and drain any excess moisture before using them in the recipe.
2. Can I add a different type of fruit?
Absolutely! Pears or berries can be excellent alternatives to apples in this recipe, but adjust the sugar based on the sweetness of the fruit.
3. Can I make these bars gluten-free?
Yes! Substitute the all-purpose flour with a gluten-free flour blend, and ensure your oats are certified gluten-free to make these bars gluten-free.
Enjoy baking and savoring these delicious Apple Bars, a treat sure to charm anyone who takes a bite!
Apple Bars
Ingredients
For the crust
- 2 cups all-purpose flour
- 1.5 cups old-fashioned oats
- 0.5 cups granulated sugar
- 0.75 cups brown sugar
- 1 cup unsalted butter, cold and cubed
- 0.5 teaspoon salt
- 1.5 teaspoons ground cinnamon
- 0.25 teaspoon nutmeg (optional)
For the filling
- 3 cups apples, peeled and chopped
- 1 tablespoon lemon juice
- 1 tablespoon cornstarch
- 1 teaspoon vanilla extract
For the glaze
- 0.5 cups powdered sugar
- 1–2 tablespoons milk
Instructions
Preparation
- Preheat your oven to 350°F and line a 9x13-inch pan with parchment paper.
- In a large bowl, mix together the flour, oats, granulated sugar, brown sugar, salt, and cinnamon. Cut in the cold, cubed butter until the mixture is crumbly.
- Reserve 1 ½ cups of the mixture for topping. Press the remaining mixture evenly into the bottom of the prepared pan and bake for 10 to 12 minutes, or until lightly golden.
Filling
- In a separate bowl, toss the chopped apples with lemon juice, cornstarch, vanilla extract, cinnamon, and nutmeg (if using).
- Spread the apple mixture evenly over the baked crust.
- Sprinkle the reserved topping over the apples.
Baking
- Bake for an additional 30 to 35 minutes until the mixture is golden brown and bubbly.
- Allow the bars to cool completely in the pan before slicing.
- Whisk together the powdered sugar and milk to create a glaze. Drizzle this over the cooled bars before serving.