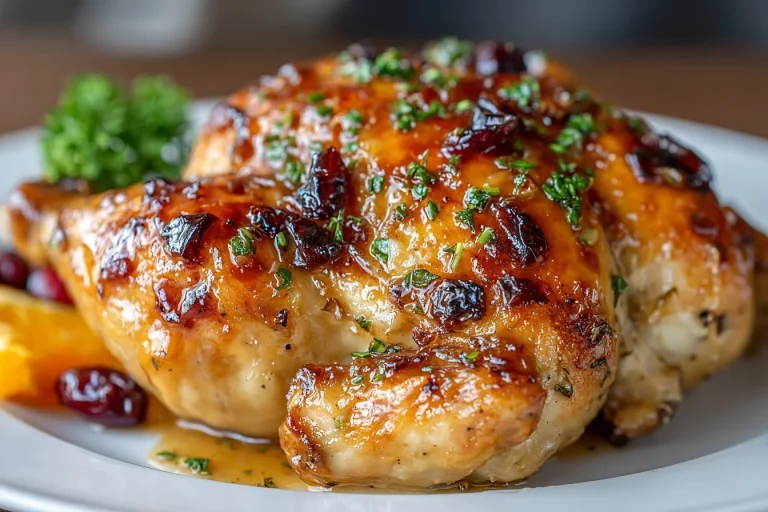
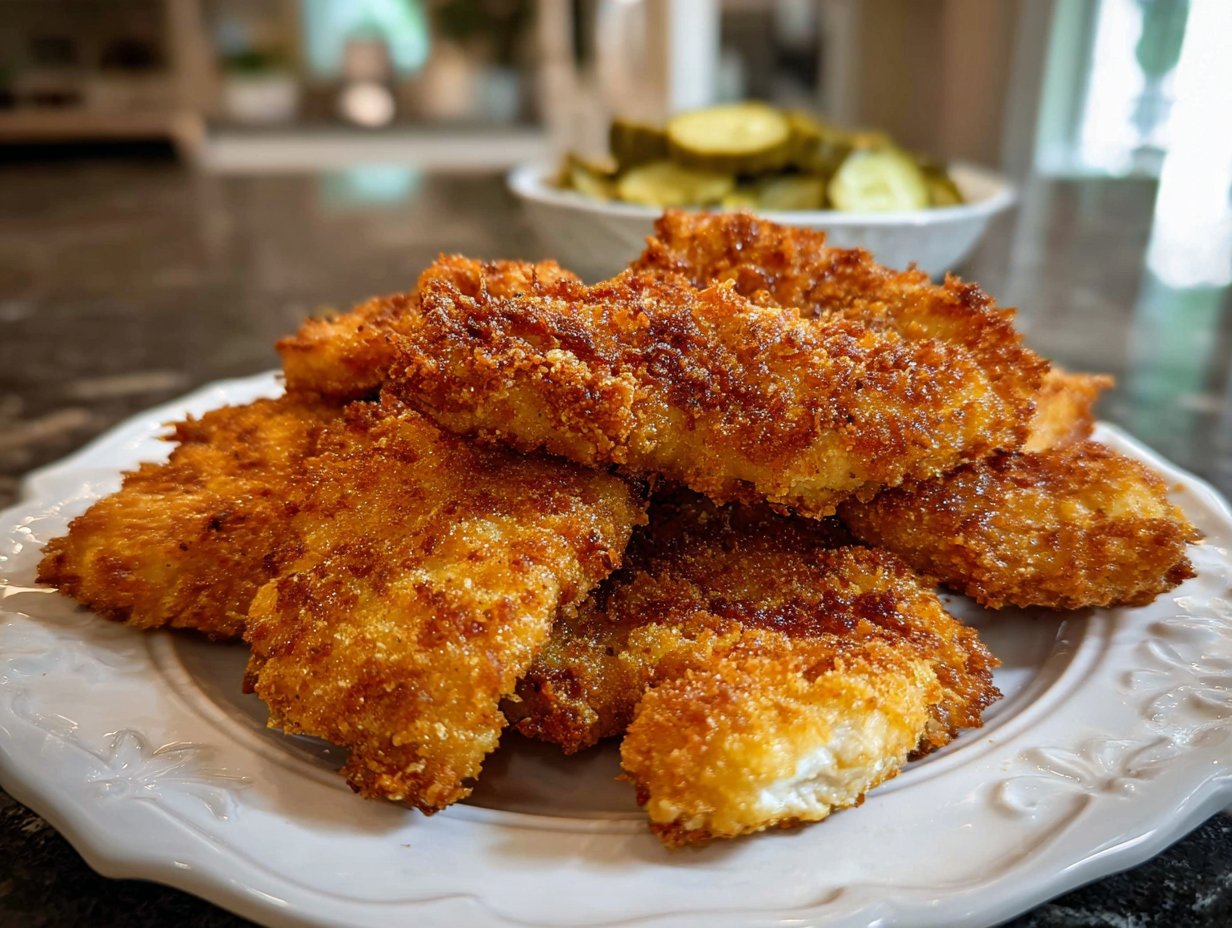
Crispy Dill Pickle Parmesan Chicken: 7 Irresistible Secrets

I still remember the first time I brined chicken in dill pickle juice — the meat came out tangy, tender, and with a crust that begged to be crunchy. This Crispy Dill Pickle Parmesan Chicken takes a simple pantry lineup and turns it into a weeknight show-stopper: a short pickle-brine, a parmesan-forward breadcrumb coating, and an oven-baked finish that’s golden without deep-frying. If you like a little zip with your comfort food, this is the recipe you’ll reach for again and again. For another riff on pickle-forward snacks, see this air-fryer spicy dill pickle chips recipe that pairs well as a crunchy side.
What makes this recipe special
This dish combines three things that make weeknight cooking delightful: quick hands-on time, bold flavor, and a reliably crispy finish from the oven. The pickle juice brine does double duty — it seasons and mildly tenderizes the chicken — while grated Parmesan in the coating adds savory depth and extra crunch. It’s great for picky eaters who like familiar textures with a flavor twist and for hosts who want something a little different but not fussy.
“A little brine, a little cheese, and the crunch is everything — this one vanished at our dinner table.” — home cook review
Step-by-step overview
Before you cook, expect a short brine, a quick breading station, and an oven bake. Here are the seven secrets that lock in texture and flavor:
- Brine long enough: At least 1 hour in dill pickle juice improves flavor and tenderness.
- Pat the chicken dry: Removes excess brine so the coating adheres.
- Light flour dusting first: Helps the egg cling evenly.
- Use beaten eggs well seasoned: It boosts adhesion and flavor.
- Parmesan in the breadcrumb mix: Adds savory crispness and a richer crust than breadcrumbs alone.
- Parchment-lined baking sheet with space: Promotes even browning and keeps bottoms crisp.
- Rest briefly after baking: Let chicken sit 5 minutes so juices redistribute and the crust firms up.
These steps make the timeline simple: marinate → set up breading station → bread each breast → bake 25–30 minutes → rest and serve.
What you’ll need
- 4 boneless chicken breasts (trimmed; pound lightly if very thick)
- 1 cup dill pickle juice (from a jar of dill pickles)
- 1 cup breadcrumbs (Panko gives extra crunch) — substitute gluten-free breadcrumbs if needed
- 1/2 cup grated Parmesan cheese (finely grated for even coating)
- 1 teaspoon garlic powder
- 1 teaspoon onion powder
- 1/2 teaspoon black pepper
- 2 large eggs (beaten)
- 1/4 cup all-purpose flour (or gluten-free 1:1 if needed)
Notes: If you’d like a brighter, crunchier crust, use Panko breadcrumbs and a blend of equal parts Panko and regular breadcrumbs. For a lower-sodium version, rinse the pickle juice briefly and taste — you may need to salt the breadcrumb mixture lightly. For more pickle-inspired recipes, check this dill pickle parmesan chicken recipe as inspiration.
Directions to follow
- Marinate the chicken: Place the trimmed chicken breasts in a shallow dish or zip-top bag. Pour over 1 cup dill pickle juice and refrigerate for at least 1 hour (up to 4 hours).
- Heat the oven: Preheat to 400°F (200°C). Line a baking sheet with parchment paper and set a cooling rack on top if you have one — it helps crisp both sides.
- Mix the coating: In a medium bowl, combine 1 cup breadcrumbs, 1/2 cup grated Parmesan, 1 tsp garlic powder, 1 tsp onion powder, and 1/2 tsp black pepper. Stir well.
- Set the breading station: Place 1/4 cup flour in one shallow dish, the 2 beaten eggs in a second, and the breadcrumb-Parmesan mix in a third.
- Pat and dust: Remove chicken from the brine, pat very dry with paper towels, and lightly coat each breast with flour, shaking off excess.
- Egg wash then crumb: Dip the floured breast into the beaten eggs, letting excess drip off, then press into the breadcrumb mixture until evenly coated. Repeat for all breasts.
- Bake: Arrange the coated breasts on the prepared sheet (leave space between pieces). Bake 25–30 minutes, or until an instant-read thermometer reads 165°F (74°C) in the thickest part and the coating is golden and crisp.
- Rest and serve: Let the chicken rest 5 minutes before slicing to keep it juicy.
Best ways to enjoy it
- Sandwiches: Slice and tuck into a toasted bun with a smear of mayonnaise, extra dill pickles, and shredded lettuce for crunch.
- Family dinner: Serve alongside roasted baby potatoes and a lemony green salad.
- Brunch or buffet: Thinly slice the breasts and arrange over arugula with shaved Parmesan and a drizzle of honey-Dijon for sweet-tangy contrast.
- Kid-friendly plate: Pair with steamed carrots and apple slices to balance the tang.
Pair with a crisp lager or a citrusy white wine to cut through the richness. For a crunchy veggie side that echoes the Parmesan element, try pairing with a recipe like crispy cauliflower bites with Parmesan.
How to store & freeze
- Refrigerate: Place cooled leftovers in an airtight container and refrigerate up to 3–4 days. Reheat in a 350°F oven or toaster oven for 8–10 minutes to revive crispness.
- Freeze: Wrap individual breasts tightly in plastic wrap and then foil, or arrange on a baking sheet to flash-freeze and transfer to a freezer bag. Freeze up to 2 months. Thaw in the refrigerator overnight before reheating.
- Reheating tip: For best texture, reheat in a 375°F oven on a wire rack set over a baking sheet until heated through (about 12–15 minutes). Avoid microwaving if you want to keep the crust crisp.
- Safety: Always reheat to an internal temperature of 165°F (74°C). Discard any chicken left at room temperature for more than 2 hours.
Pro chef tips
- Pound for even cooking: If breasts are uneven, put them between plastic wrap and gently pound to 3/4–1 inch thickness for uniform bake time.
- Dry thoroughly: The more you pat the chicken after brining, the better the flour and egg will adhere, producing a consistent crust.
- Season each layer: Lightly season the flour and eggs with a pinch of salt and pepper — it layers flavor through the coating.
- Use fine Parmesan: Finely grated cheese blends better with breadcrumbs and creates a tidier crust.
- Don’t crowd the pan: Air circulation equals crispiness — give each breast room to brown.
- Make-ahead shortcut: You can brine the chicken and keep it sealed in the fridge for up to 4 hours before breading; bread the pieces just before baking for the freshest crust.
Creative twists
- Spicy kick: Add 1/2 teaspoon cayenne or smoked paprika to the breadcrumb mix for a smoky heat.
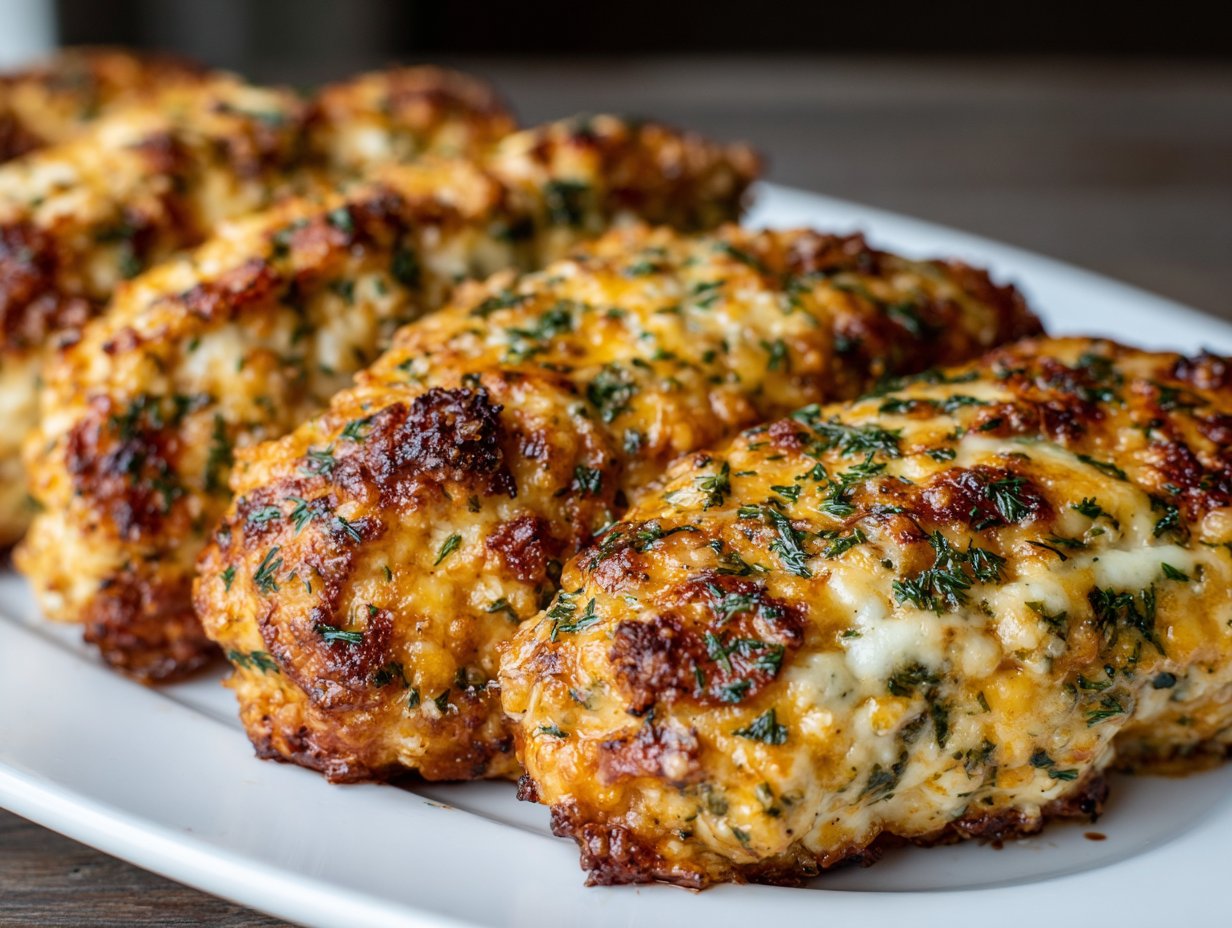
- Herby crust: Stir 1 tablespoon chopped fresh dill or parsley into the breadcrumbs to amplify the pickle’s herb notes.
- Gluten-free: Use a 1:1 gluten-free flour and gluten-free panko alternative.
- Cheesy melt: For a melted-cheese finish, bake as directed, then top each breast with a slice of provolone in the last 3 minutes of cooking.
- Vegetarian swap: Replace chicken with thick-cut, marinated tofu or eggplant slices and follow the same breading and baking technique for a meatless take.
Your questions answered
Q: How long should I marinate the chicken in pickle juice?
A: At least 1 hour gives noticeable flavor and tenderness; 2–4 hours is fine for a stronger effect. Avoid overnight to prevent the texture from becoming mealy.
Q: Can I pan-fry instead of baking?
A: Yes — shallow-fry in a couple of tablespoons of oil over medium-high heat about 4–5 minutes per side until golden and cooked to 165°F. Drain on paper towels and finish in a warm oven if needed.
Q: Is this very salty because of the pickle juice?
A: The pickle juice brings salt and tang. Patting the chicken dry and using unsalted breadcrumbs/less added salt can balance it. Taste your pickle juice: if it’s very briny, brief brining (1 hour) is safer.
Q: Can I use chicken thighs?
A: Boneless, skinless thighs work and stay juicy; adjust bake time to reach 165°F — thighs may need a few extra minutes depending on thickness.
Q: Will the crust stay crispy for sandwiches?
A: The crust is crispest right out of the oven. For sandwiches that travel, layer a paper napkin between chicken and bun or add sauce at serving to keep the breading from going soggy.
Conclusion
Want to learn more crisping techniques? This excellent guide to the crispiest chicken cutlets dives into tricks that translate well to breadcrumbed chicken. And if you’re thinking about where this flavor profile fits in a larger menu, check out the California Pizza Kitchen menu for ideas on pairing bold chicken dishes with salads and sides.
Crispy Dill Pickle Parmesan Chicken
Ingredients
Marinade
- 1 cup dill pickle juice from a jar of dill pickles
- 4 pieces boneless chicken breasts trimmed; pound lightly if very thick
Coating
- 1 cup breadcrumbs Panko gives extra crunch
- 1/2 cup grated Parmesan cheese finely grated for even coating
- 1 teaspoon garlic powder
- 1 teaspoon onion powder
- 1/2 teaspoon black pepper
- 2 large eggs beaten
- 1/4 cup all-purpose flour or gluten-free 1:1 if needed
Instructions
Marinating
- Place the trimmed chicken breasts in a shallow dish or zip-top bag. Pour over 1 cup dill pickle juice and refrigerate for at least 1 hour (up to 4 hours).
Preparing the Oven and Coating
- Preheat the oven to 400°F (200°C). Line a baking sheet with parchment paper.
- In a medium bowl, combine 1 cup breadcrumbs, 1/2 cup grated Parmesan, 1 tsp garlic powder, 1 tsp onion powder, and 1/2 tsp black pepper. Stir well.
- Set up a breading station: Place 1/4 cup flour in one shallow dish, the 2 beaten eggs in a second, and the breadcrumb-Parmesan mix in a third.
Breading the Chicken
- Remove chicken from the brine, pat very dry with paper towels, and lightly coat each breast with flour, shaking off excess.
- Dip the floured breast into the beaten eggs, letting excess drip off, then press into the breadcrumb mixture until evenly coated. Repeat for all breasts.
Baking
- Arrange the coated breasts on the prepared sheet (leave space between pieces). Bake for 25–30 minutes, or until an instant-read thermometer reads 165°F (74°C) in the thickest part and the coating is golden and crisp.
- Let the chicken rest for 5 minutes before slicing to keep it juicy.