Fried Onions
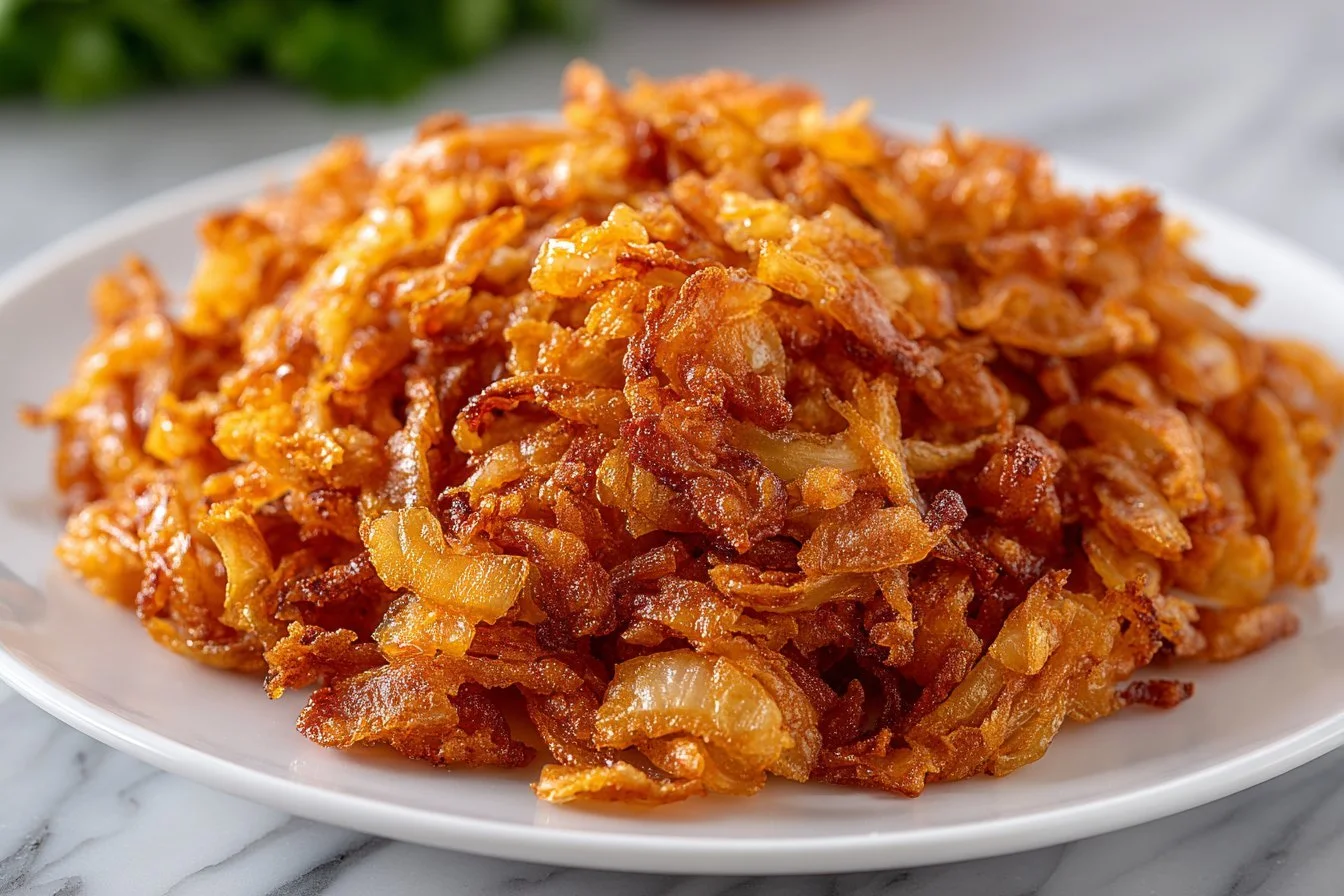
I still remember the first time I fried onions at home — the kitchen filled with a sweet, toasty smell and a little bowl of golden crunch that made everything taste better. Fried onions are that simple upgrade: thinly sliced onions cooked slowly in oil until they’re deeply caramelized and crisp. People make them for casseroles, burgers, salads, or just to snack on straight from the bowl. They’re cheap, fast, and addictive.
Why you’ll love this dish
Fried onions add texture and a roasted-sweet flavor that store-bought crisps can’t quite match. They’re quick to make, use pantry staples, and transform weekday meals into something special. Make a batch on Sunday and you’ll have a crunchy finishing touch for lunches or holiday sides all week.
“These homemade fried onions turned my plain rice into a restaurant-worthy bowl — sweet, nutty, and perfectly crisp.” — a reader favorite
They’re perfect when you want a crunchy topping for green bean casserole, rice bowls, or even brunch dishes. If you enjoy crunchy garnishes, try pairing them with creamy or saucy dishes for contrast — they’re that万能 (versatile). Also, if you’re curious about other crunchy toppings, I sometimes use them alongside fried eggs for texture — see my crispy feta fried eggs for a similar idea: crispy feta fried eggs.
How this recipe comes together
This recipe is straightforward and forgiving. Warm oil gently, test one slice to check the sizzle, then fry the onions in a single thin layer so they brown evenly. Work in two batches to avoid overcrowding — that keeps the oil temperature steady and prevents steaming. Drain on paper towels, season while hot, and let them cool a few minutes to crisp up. Expect about 15–20 minutes of active cooking and a few minutes of cooling.
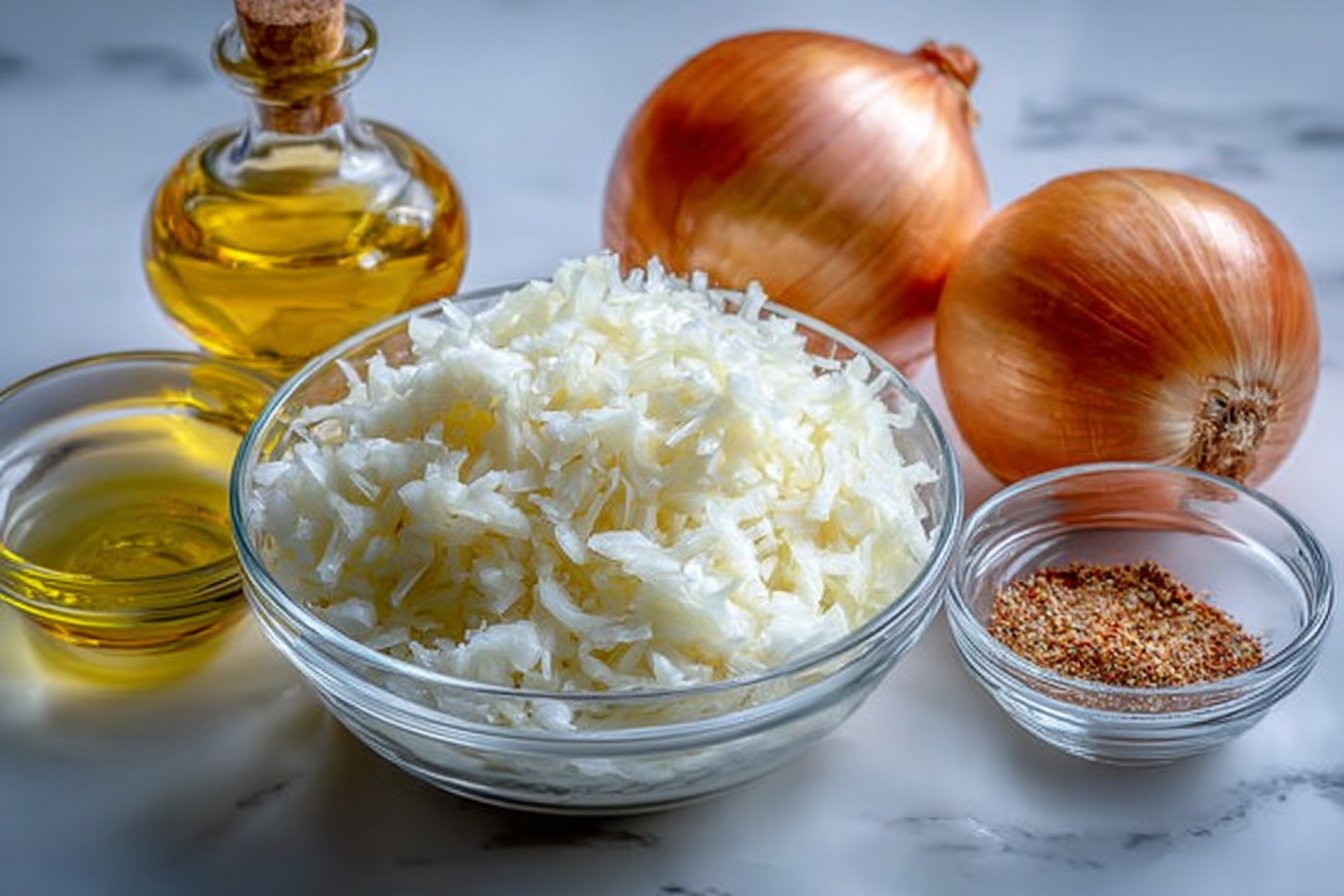
What you’ll need
- 2 medium onions, peeled and sliced thin (sweet, yellow, or white work well)
- 2/3 cup vegetable oil (canola, sunflower, or peanut) — choose an oil with a neutral flavor and a high smoke point
- Salt and freshly ground black pepper, to taste
Notes:
- For a milder, sweeter result use yellow or sweet onions. Red onions will yield a sharper, slightly colored crisp.
- If you’re allergic to peanuts, don’t use peanut oil; stick with canola or sunflower.
Directions to follow
- Pour 2/3 cup vegetable oil into a small saucepan. Warm it over low–medium heat until it’s gently hot.
- Test the heat with one onion slice: it should sizzle softly, not spit violently or smoke. Adjust heat if needed.
- Add half the sliced onions in a single layer so they don’t overlap. Cook 7–9 minutes, stirring occasionally so they brown evenly. Keep the heat moderate so they caramelize without burning.
- When the slices are golden brown, use a slotted spoon to lift them onto a plate lined with paper towels. Sprinkle immediately with salt and a little pepper.
- Repeat with the remaining onions in the same way. Let all the fried onions cool slightly — they’ll crisp up as they rest. Serve warm or at room temperature.
Best ways to enjoy it
- Sprinkle over mashed potatoes or casseroles instead of plain breadcrumbs.
- Top burgers, hot dogs, or sandwiches for an extra crunch.
- Scatter on salads or grain bowls for texture and sweetness — they’re insanely good on simple rice bowls; try them atop something like this black pepper chicken stir-fry with onions and rice: black pepper chicken stir-fry with onions & rice.
- Use as a garnish for creamy soups, mac and cheese, or baked brie.
How to store & freeze
- Refrigerator: Let the fried onions cool completely, then transfer to an airtight container or jar and refrigerate. They keep best for up to 4–5 days.
- Re-crisping: If they soften, spread on a baking sheet and toast at 300°F (150°C) for 5–8 minutes until crisp again. Microwaving will make them soggy.
- Freezing: You can freeze in a single layer on a tray, then transfer to a freezer bag. Freeze up to 1 month. Reheat in a 300°F oven to restore crunch.
- Food safety: Don’t leave cooked onions at room temperature longer than 2 hours. Cool and refrigerate promptly.
Tricks for success
- Use evenly thin slices so all pieces brown at the same rate. A mandoline speeds this up and keeps thickness consistent.
- Keep the oil at a low–medium temperature (roughly 300–325°F if using a thermometer). Too hot and they burn; too cool and they’ll become greasy.
- Fry in small batches. Crowding the pan lowers oil temperature and leads to steaming instead of crisping.
- Season immediately after draining. Salt draws moisture if added too late, so add it while the onions are still hot.
- Save the oil: Once cooled and strained, the onion-flavored oil can be reused for one more batch or as a flavor booster in savory dishes — store in a sealed jar in the fridge and use within a week.
Different ways to try it
- Spiced: Add a pinch of smoked paprika, cumin, or chili powder right after frying for a smoky or spicy edge.
- Sweet-and-savory: Toss with a little brown sugar and a dash of balsamic for glazed, candied crisps.
- Low-oil or air-fryer shortcut: Toss thin slices with a teaspoon of oil and air-fry at 350°F for 6–10 minutes, shaking occasionally — keep an eye on them. For an air-fryer idea and timing tips, check this guide to air-fryer fried pickles for inspiration: air-fryer fried pickles.
- Swap onions for shallots for a milder, more delicate flavor.

FAQ
Q: How long do homemade fried onions take to make?
A: Plan on about 15–20 minutes of cooking time (including two batches) plus a few minutes cooling. Prep time to slice onions adds another 5–10 minutes depending on your knife skills.
Q: Can I make them ahead for a holiday dish?
A: Yes. Make them a day ahead and store in an airtight container. If they soften, re-crisp in a warm oven (300°F) for 5–8 minutes just before serving.
Q: Is it safe to reuse the frying oil?
A: Yes, if the oil isn’t burnt. Strain it through a fine mesh to remove solids, cool, and store in the fridge. Use within a week and don’t reuse multiple times.
Q: Can I use other oils?
A: Use neutral oils with high smoke points — canola, sunflower, or peanut are good. Olive oil has a stronger flavor and lower smoke point, so it’s less ideal for frying this thinly.
Conclusion
Homemade fried onions are a small effort with a big payoff — a crunchy, sweet garnish that instantly elevates everyday dishes. If you want a reference for textures and techniques similar to classic store favorites, check this curated French Fried Onions Recipe for comparison. Or, if you’re interested in how commercial versions are made and marketed, see French’s® Original Crispy Fried Onions | McCormick for product info and uses.
Fried Onions

Ingredients
Main Ingredients
- 2 medium onions, peeled and sliced thin Sweet, yellow, or white onions work well.
- 2/3 cup vegetable oil (canola, sunflower, or peanut) Choose an oil with a neutral flavor and high smoke point.
- to taste salt and freshly ground black pepper
Instructions
Preparation
- Pour 2/3 cup vegetable oil into a small saucepan. Warm it over low–medium heat until it’s gently hot.
- Test the heat with one onion slice: it should sizzle softly, not spit violently or smoke. Adjust heat if needed.
- Add half the sliced onions in a single layer so they don’t overlap. Cook for 7–9 minutes, stirring occasionally until golden brown.
- Once golden brown, use a slotted spoon to lift them onto a plate lined with paper towels. Sprinkle immediately with salt and pepper.
- Repeat with the remaining onions, following the same method. Let all the fried onions cool slightly for optimal crispiness.