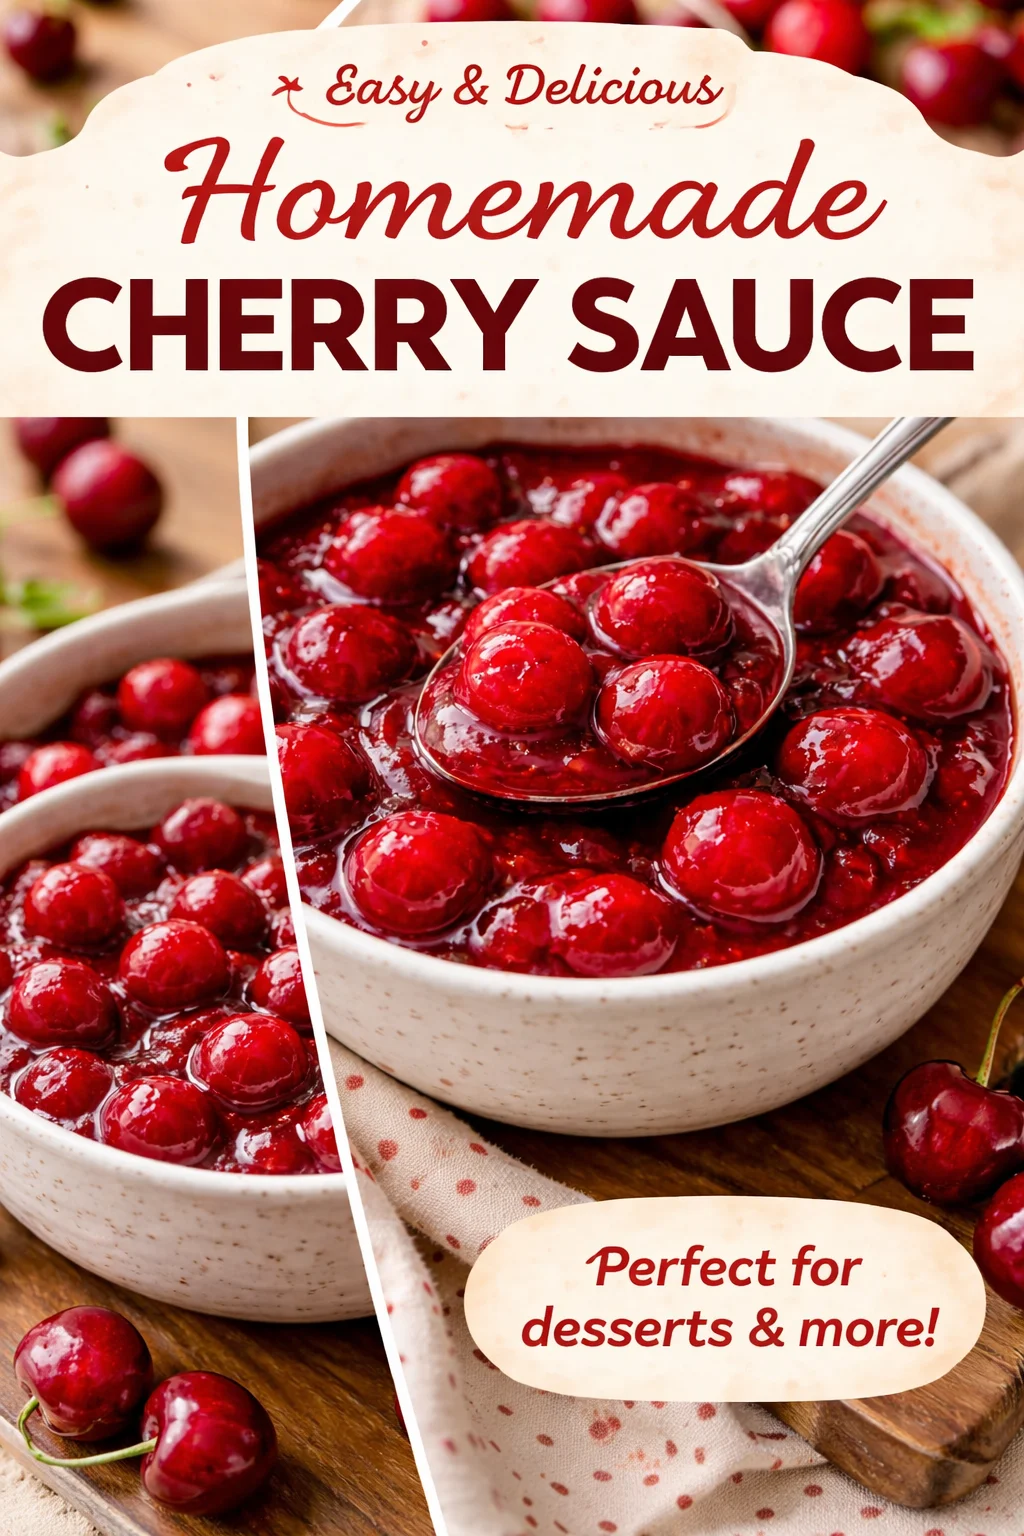
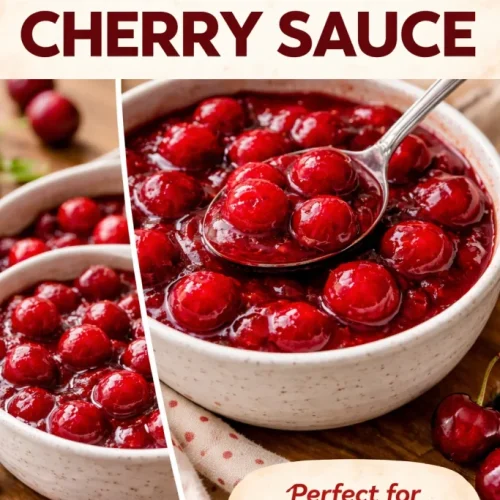
Homemade Cherry Pie Filling

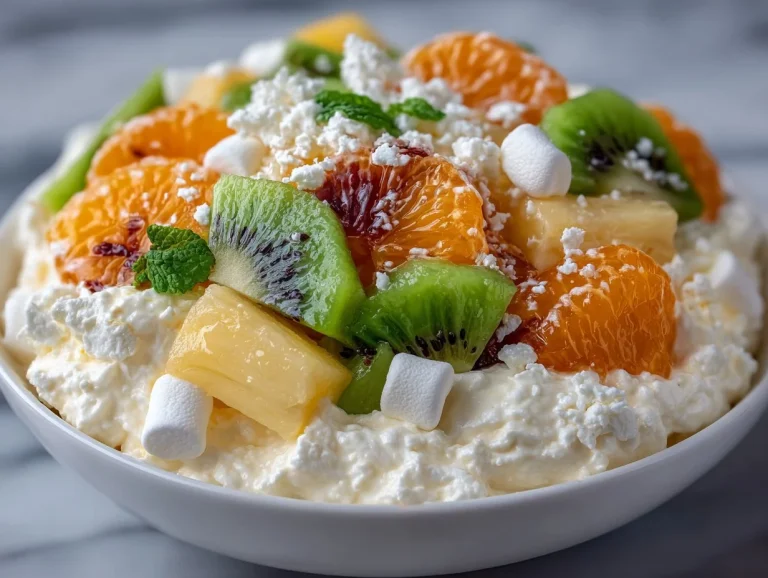
I make this cherry pie filling whenever cherries are at their peak, or when I want a quick, reliable fruit topping for toast, ice cream, or — yes — an easy pie. It’s bright, not too sweet, and has that glossy, spoonable texture you want in a classic pie filling. If you like using pie fillings beyond pies, try stirring this cherry filling into an Easter fruit salad with peach pie filling for a seasonal twist.
Why you’ll love this dish
This homemade cherry pie filling hits a sweet spot: fresh cherry flavor, a silky thickener, and a short cook time. It’s perfect when you want something better than store-bought jarred filling but don’t have time for a long, fussy preserve. Use tart cherries for a bright finish or sweet cherries for an easy, kid-approved option.
“I made this for a family dinner and everyone asked for seconds — sweet, glossy, and full of real cherry flavor.”
It’s also versatile. Spoon it over yogurt, use it as a layer in parfaits, or fold a few spoonfuls into a fruit salad like this fruit salad with peach pie filling to boost flavor.
The cooking process explained
Before you start: the method is straightforward — combine, heat to thicken, flavor, finish with butter, cool. Cornstarch is the thickener here; it needs to cook just long enough to become translucent and lose its raw taste. If you’re using frozen cherries, no need to thaw them first — they’ll release a little extra juice as they heat.
What to expect step-by-step:
- Combine cherries with sugar, cornstarch, and salt in a saucepan.
- Heat gently and stir so the cornstarch activates and the mixture thickens.
- Stir in lemon and vanilla for brightness and depth.
- Finish with butter for gloss and richness, then cool before using.
Ingredients — What you’ll need
- 4 cups fresh or frozen cherries, pitted (about 1 pound fresh)
- 1 cup granulated sugar (reduce to 3/4 cup for very sweet cherries)
- 1/4 cup cornstarch
- 1/4 teaspoon fine salt
- 1 tablespoon lemon juice
- 1 teaspoon vanilla extract
- 1 tablespoon unsalted butter
Notes and substitutions:
- For a gluten-free option, cornstarch is already gluten-free; arrowroot works too (use the same amount).
- If you prefer less shine and a looser texture, use 3 tablespoons cornstarch instead of 1/4 cup.
- This filling pairs beautifully with a flaky crust — try a homemade all-butter pie crust recipe for a classic pie.

Directions — Step-by-step instructions
- Combine ingredients: In a medium saucepan, add the cherries, sugar, cornstarch, and salt. Stir until most of the cornstarch is evenly distributed among the cherries.
- Heat gently: Place the pan over medium heat. Stir constantly to prevent sticking. The mixture will begin to release juice and the cornstarch will start to activate.
- Thicken: When the mixture comes to a simmer and starts bubbling, keep stirring and let it bubble gently for 1–2 minutes until the filling looks glossy and thickened. Avoid a rolling boil — too much agitation can break the cherries.
- Finish flavors: Remove from heat. Stir in the lemon juice and vanilla extract. The lemon brightens the cherries; don’t skip it.
- Add butter and cool: Stir in the tablespoon of butter until melted for a smooth, shiny finish. Let the filling cool to room temperature before using in a pie or as a topping.
If you’re assembling a pie right away, roll your dough and proceed to fill; for best crust results, see this homemade all-butter pie crust recipe for handling and blind-baking tips.
Best ways to enjoy it
This filling is a champ for:
- Classic double-crust cherry pie or a lattice top.
- Warm spooned over vanilla ice cream or mascarpone.
- Spread inside thumbprint cookies or between cake layers.
- Mixed into oatmeal or swirled into plain Greek yogurt.
For a rustic galette or tart, spoon the cooled filling into a rolled pastry and fold the edges up — the same pastry technique in this homemade all-butter pie crust recipe works beautifully.
Storage and reheating tips
Refrigeration:
- Cool the filling completely, then transfer to an airtight container.
- Keep in the refrigerator for up to 5–7 days. Store safely: don’t leave more than 2 hours at room temperature before refrigerating.
Freezing:
- For longer storage, freeze in a freezer-safe container for up to 3 months. Thaw in the fridge overnight.
- Reheat gently on the stove over low heat, stirring to reincorporate any separated juices. Add a splash of water if it becomes too thick.
Reheating:
- Warm slowly; high heat can break down the fruit and thin the filling. A gentle simmer until warmed is ideal.
Helpful cooking tips
- Pitting: Use a cherry pitter for speed, or push each cherry against a straw for a low-tech method. Removing pits prevents unpleasant bites and protects teeth.
- Cornstarch tip: Mix the cornstarch with the sugar first so it disperses better; this prevents clumping. If lumps appear, press the mixture through a fine strainer while heating.
- Texture control: For chunkier filling, reduce stirring once it thickens. For a smoother result, smash a few cherries with the back of a spoon while cooking.
- Taste as you go: If cherries are very tart, add up to 2 tablespoons more sugar; if too sweet, a touch more lemon juice brightens the flavor.
Creative twists
- Boozy boost: Stir in 1–2 tablespoons of kirsch, brandy, or bourbon after removing from heat.
- Chocolate-cherry: Add 1–2 tablespoons of unsweetened cocoa powder to intensify the pairing with chocolate crusts or fillings.
- Spiced version: Simmer with a strip of orange zest and a cinnamon stick; remove before finishing.
- Low-sugar: Use a sugar substitute suitable for cooking (like a baking erythritol blend) and reduce sugar to taste.
Common questions
Q: Can I use frozen cherries straight from the freezer?
A: Yes. No need to thaw. Frozen cherries release extra juice while cooking, so they may need a minute more simmering to achieve the same thickness.
Q: Will cornstarch make the filling gummy?
A: If overcooked or used in excess, cornstarch can become heavy. Follow the recipe amounts and simmer just 1–2 minutes after bubbling. If the filling looks too thick after cooling, whisk in a tablespoon or two of water while reheating.
Q: How much filling does this recipe make?
A: Four cups of cherries yields about 3 to 3 1/2 cups of finished filling — enough for a standard 9-inch double-crust pie or several servings as a topping.
Q: Is it safe to can this filling?
A: This recipe is not tested for home canning. If you want shelf-stable canned cherry pie filling, follow an approved USDA or reputable canning recipe and processing guidelines.
Q: Can I use this as a cake filling?
A: Yes. Cool completely and drain slightly if the filling is very runny before layering between cake tiers to avoid sliding.
Conclusion
If you want another perspective on technique and variations, see Eat Dessert Snack’s homemade cherry pie filling for a similar home-cook approach. For additional tips and recipe testing notes, check out My Baking Addiction’s homemade cherry pie filling recipe.
Cherry Pie Filling
Ingredients
Main Ingredients
- 4 cups fresh or frozen cherries, pitted (about 1 pound fresh)
- 1 cup granulated sugar Reduce to 3/4 cup for very sweet cherries
- 1/4 cup cornstarch
- 1/4 teaspoon fine salt
- 1 tablespoon lemon juice
- 1 teaspoon vanilla extract
- 1 tablespoon unsalted butter
Instructions
Preparation
- In a medium saucepan, add the cherries, sugar, cornstarch, and salt. Stir until most of the cornstarch is evenly distributed among the cherries.
- Place the pan over medium heat. Stir constantly to prevent sticking. The mixture will begin to release juice and the cornstarch will start to activate.
- When the mixture comes to a simmer and starts bubbling, keep stirring and let it bubble gently for 1–2 minutes until the filling looks glossy and thickened. Avoid a rolling boil.
- Remove from heat. Stir in the lemon juice and vanilla extract.
- Stir in the tablespoon of butter until melted for a smooth finish. Let the filling cool to room temperature before using.