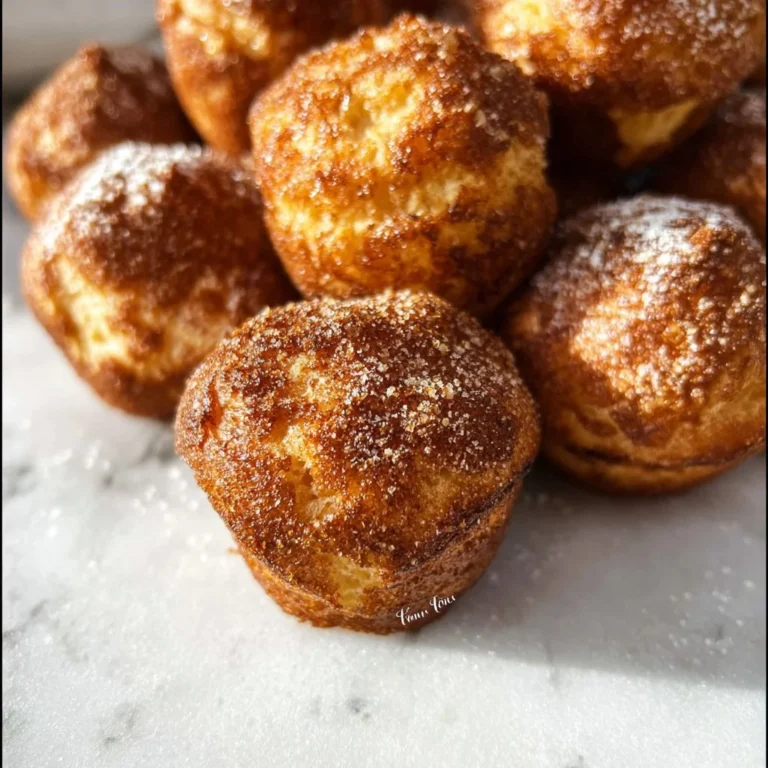
2-Ingredient Donuts
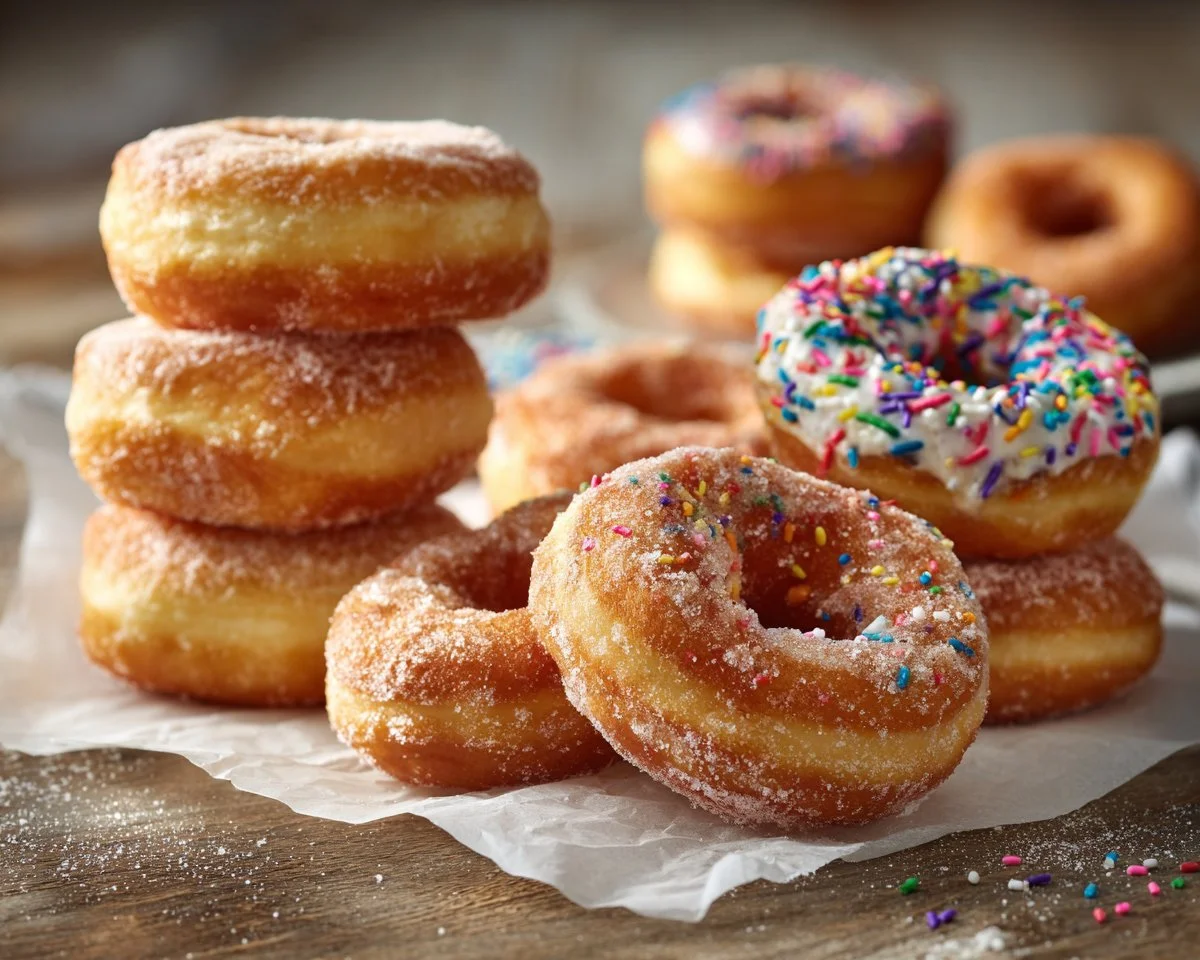
I remember the first time I pulled a tray of these 2-ingredient donuts from the oven — warm, pillowy rings that tasted like a treat but felt almost too easy to be real. These little baked donuts use just self-rising flour and plain yogurt, which makes them perfect for a quick breakfast, an after-school snack, or a last-minute dessert when you’re out of the usual baking staples. If you like simple baked donuts (think lighter than fried versions), this is a terrific base — and if you want a sturdier cake-style ring, try my take on easy baked cake donuts for a similar, fuss-free result: https://mixmirth.com/easy-baked-cake-donuts/
Why you’ll love this dish
These donuts are a wonderful example of pantry-to-plate speed. Two ingredients, minimal equipment, and about 20 minutes from start to finish — that combination is rare. They’re budget-friendly, adaptable (sweet or savory), and kid-approved for shaping and decorating. Make them for a casual weekend brunch, to use up yogurt that’s getting near its sell-by date, or whenever you want a fresh-baked treat without pulling out a long list of ingredients.
“Soft, simple, and oddly addictive — I made these with my kids and they vanished within an hour.” — a quick test-kitchen review
If you enjoy seasonal spins on donuts, you’ll also like the fall-flavored twist I used on a batch of apple-cider baked donuts: https://mixmirth.com/baked-apple-cider-donuts/
Step-by-step overview
This recipe is extremely straightforward. You’ll mix equal parts self-rising flour and plain yogurt to form a soft dough, shape it into rings (or mini rounds), and bake at 350°F (175°C) for 10–12 minutes until lightly golden. Expect a tender crumb and a slightly cakey texture. No proofing, no rolling pin required unless you want perfectly uniform rings — shaping by hand works fine.
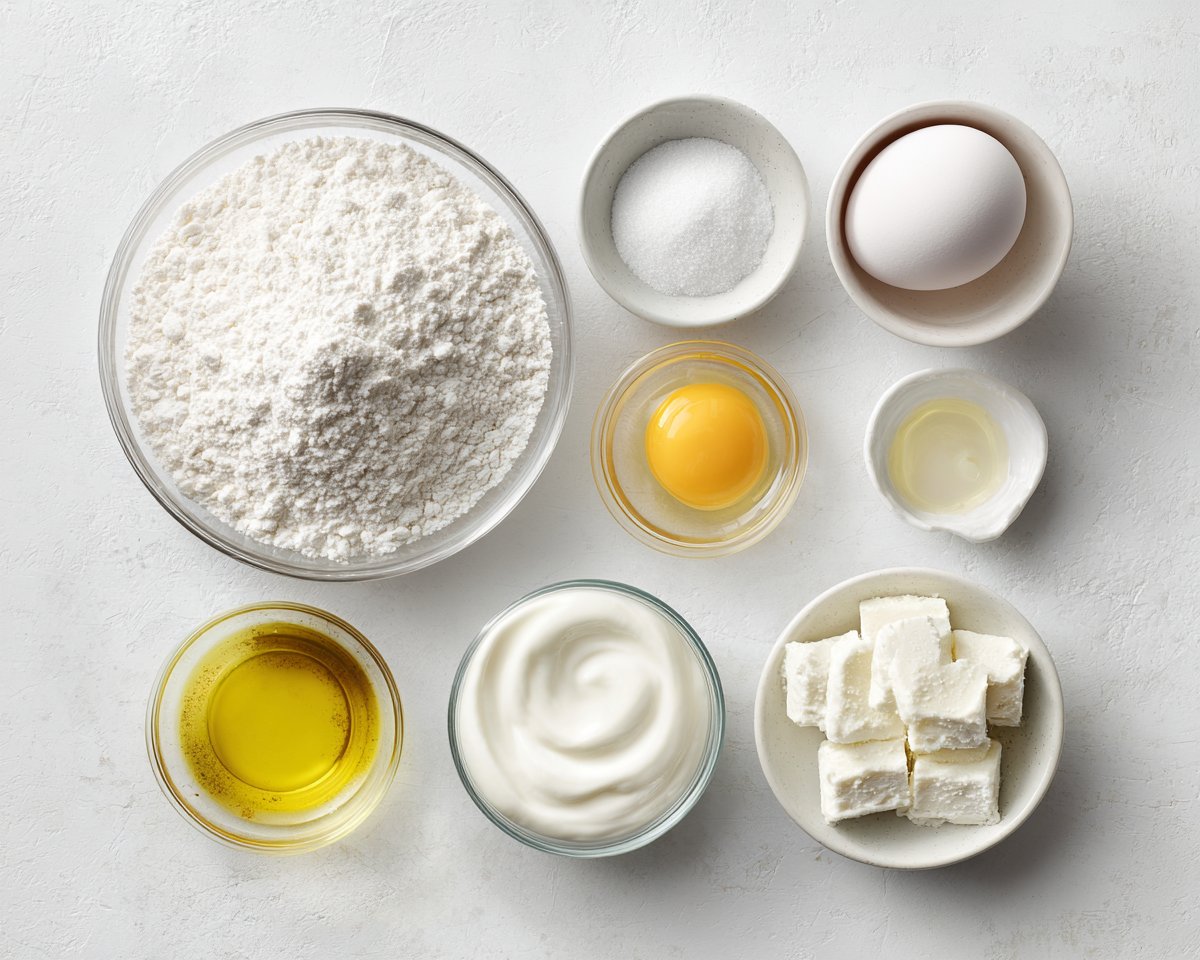
What you’ll need
- 1 cup self-rising flour
- 1 cup plain yogurt (see notes below)
Notes/substitutions:
- If you don’t have self-rising flour: make 1 cup by mixing 1 cup all-purpose flour + 1½ tsp baking powder + ¼ tsp salt.
- Plain Greek yogurt will work but is thicker; you may need to loosen it with a teaspoon or two of milk or water for easier mixing.
- For dairy-free, try a thick plant-based yogurt; texture will be slightly different.
How to prepare it
- Preheat your oven to 350°F (175°C) and line a baking tray with parchment or a silicone mat.
- In a medium bowl, combine 1 cup self-rising flour and 1 cup plain yogurt. Stir until a soft, slightly sticky dough forms; don’t overmix.
- Turn the dough onto a lightly floured surface. Roll into a ball and flatten gently into a disc about ¾ inch thick.
- Use your hands or a small round cutter to shape a ring. For classic donuts, cut a small hole in the center with the end of a piping tip or a round cutter. Alternatively, shape small balls for donut holes.
- Place shaped donuts on the prepared tray, spacing them at least 1 inch apart.
- Bake for 10–12 minutes, or until the tops are set and the edges are lightly golden.
- Let cool on the tray for a few minutes, then transfer to a rack to finish cooling before glazing or serving.
Best ways to enjoy it
These donuts are a blank canvas. Here are a few serving ideas:
- Classic glaze: powdered sugar + milk + a splash of vanilla, dipped while donuts are slightly warm.
- Cinnamon sugar: brush with melted butter then toss in cinnamon sugar for a quick finish.
- Chocolate dip: melt chocolate and dip halves, then sprinkle with chopped nuts or sea salt.
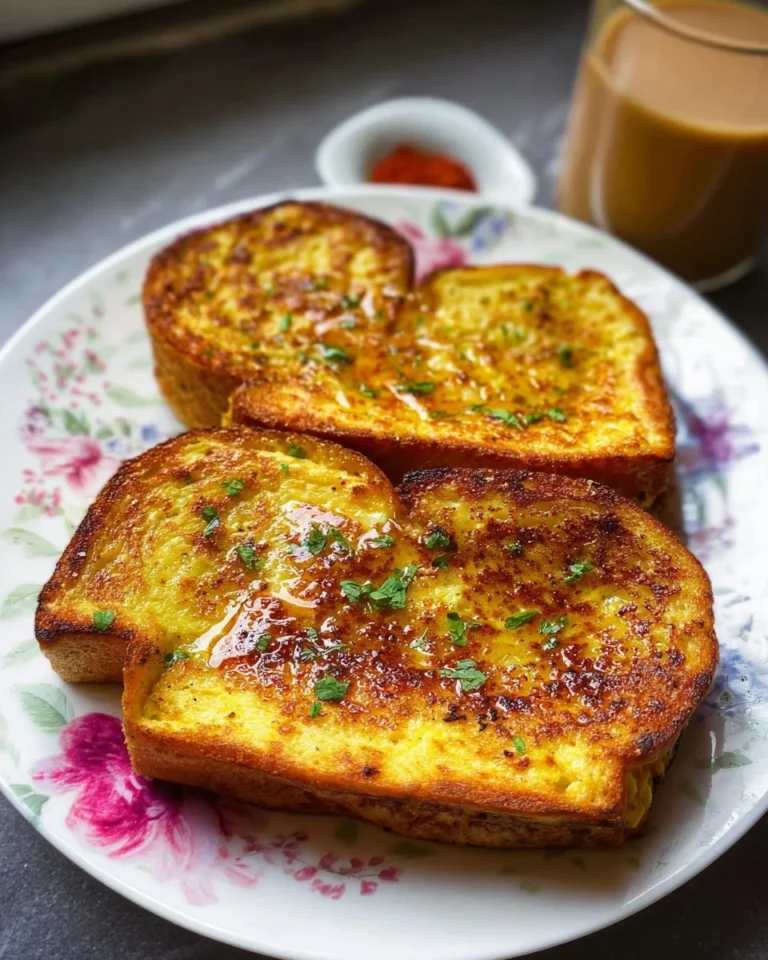
- Savory twist: omit sweet toppings and serve warm with a smear of honey butter or herb cream cheese for brunch.
- Pair them with coffee, chai, or a citrusy tea for contrast.
If you like a glazed biscuit-style donut, try experimenting with a canned-biscuit glaze approach for quick topping inspiration: https://mixmirth.com/canned-biscuit-glazed-donuts/
Storage and reheating tips
- Room temperature: Keep cooled donuts in an airtight container at room temp for up to 48 hours. Sprinkle a paper towel in the container to help absorb moisture.
- Refrigerator: Store up to 4–5 days in an airtight container; bring back to room temp or warm briefly before serving for best texture.
- Freezing: Wrap individual donuts tightly in plastic wrap and place in a freezer bag for up to 2 months. Thaw in the fridge overnight or at room temp for an hour.
- Reheating: Warm in a 300°F (150°C) oven for 5–8 minutes, or microwave for 10–15 seconds (watch for chewiness).
Food safety note: discard perishable toppings (fruit, custard) left out for more than 2 hours.
Pro chef tips
- Dough feel: Aim for a soft, slightly tacky dough. If it’s crumbly, add a teaspoon of yogurt at a time until it comes together; if too sticky, dust with a touch more flour.
- Uniform rings: For even baking, use two round cutters (one larger, one smaller) to cut the outer ring and the hole, then transfer gently with a spatula.
- Don’t overbake: These are meant to be soft. Pull them at the earlier end of the time and allow carryover heat to finish the center.
- Toppings timing: Glaze while donuts are slightly warm so it sets but still adheres well.
- Batch scaling: This formula scales easily — stick to a 1:1 ratio of flour to yogurt for predictable results.
Creative twists
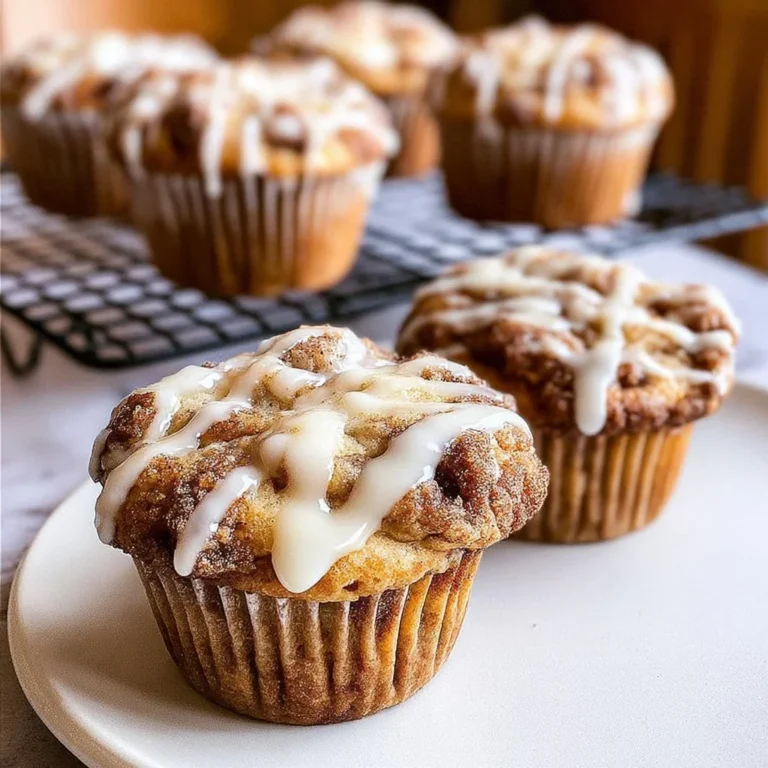
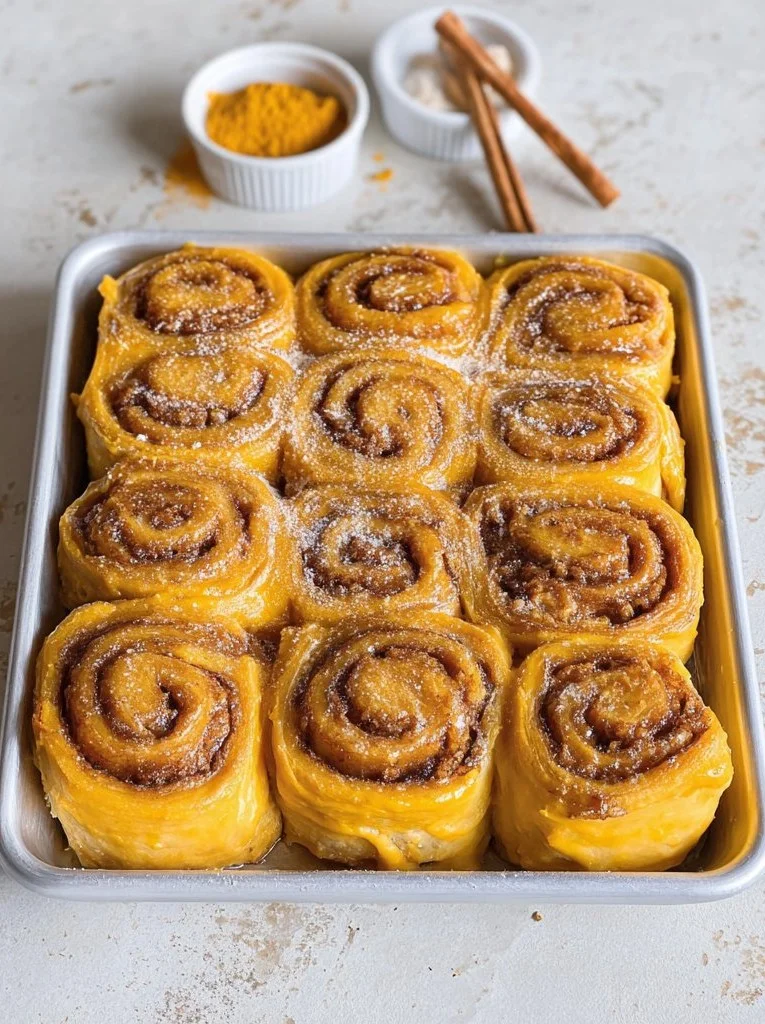
- Cinnamon-vanilla: Add 1 tsp cinnamon and 1 tsp vanilla to the dough; finish with cinnamon sugar.
- Lemon poppy: Add 1 tbsp lemon zest to the batter and drizzle with lemon glaze.
- Cocoa: Swap 1–2 tbsp of flour for 1–2 tbsp cocoa powder for a chocolate base.
- Filled: Pipe jam or pastry cream into cooled donuts using a small round tip.
- Vegan: Use a firm plant-based yogurt and ensure any glaze uses dairy-free milk.
- Fried version: You can pan-fry small spoonfuls at 350°F (175°C) oil, but expect denser, crisper edges than the baked version.
Your questions answered
Q: Can I use Greek yogurt instead of plain yogurt?
A: Yes. Greek yogurt is thicker, so stir in a teaspoon or two of milk or water if the dough feels too stiff. Texturally they’ll be slightly denser but still delicious.
Q: Are these actually donuts without yeast or eggs?
A: They’re baked, quick donuts — closer to cake-style or baked donut treats. No yeast or eggs are needed because self-rising flour (or the baking powder in homemade SRF) provides lift.
Q: How long do they take from start to finish?
A: About 20–25 minutes total: 5–10 minutes to mix and shape, then 10–12 minutes to bake, plus a few minutes to cool.
Q: Can I fry this dough instead of baking?
A: You can, but frying changes the hydration balance and texture. If frying, shape small rounds and fry at 350°F (175°C) until golden, about 1–2 minutes per side. Expect a crisper exterior and a slightly different crumb.
Q: What if I don’t have self-rising flour?
A: Make your own: for every cup of self-rising flour needed, combine 1 cup all-purpose flour + 1½ tsp baking powder + ¼ tsp salt.
Conclusion
If you want a quick, forgiving donut that requires almost no planning, this 2-ingredient version delivers — soft, adaptable, and easy to customize. For more two-ingredient inspiration and similar simple donut recipes to compare techniques, check out these guides: 2-Ingredient Donuts – The Conscious Plant Kitchen (https://www.theconsciousplantkitchen.com/2-ingredient-donuts/) and 2 Ingredient Donuts (No Yeast, Eggs or Butter) – Kirbie’s Cravings (https://kirbiecravings.com/2-ingredient-donuts/).
2-Ingredient Donuts

Ingredients
Main Ingredients
- 1 cup self-rising flour If you don't have it, mix 1 cup all-purpose flour + 1½ tsp baking powder + ¼ tsp salt.
- 1 cup plain yogurt Plain Greek yogurt works but may need to be loosened with milk or water.
Instructions
Preparation
- Preheat your oven to 350°F (175°C) and line a baking tray with parchment or a silicone mat.
- In a medium bowl, combine 1 cup self-rising flour and 1 cup plain yogurt. Stir until a soft, slightly sticky dough forms; don’t overmix.
- Turn the dough onto a lightly floured surface. Roll into a ball and flatten gently into a disc about ¾ inch thick.
- Use your hands or a small round cutter to shape a ring. For classic donuts, cut a small hole in the center.
- Place shaped donuts on the prepared tray, spacing them at least 1 inch apart.
- Bake for 10–12 minutes, or until the tops are set and the edges are lightly golden.
- Let cool on the tray for a few minutes, then transfer to a rack to finish cooling before glazing or serving.