Disney Grilled Cheese
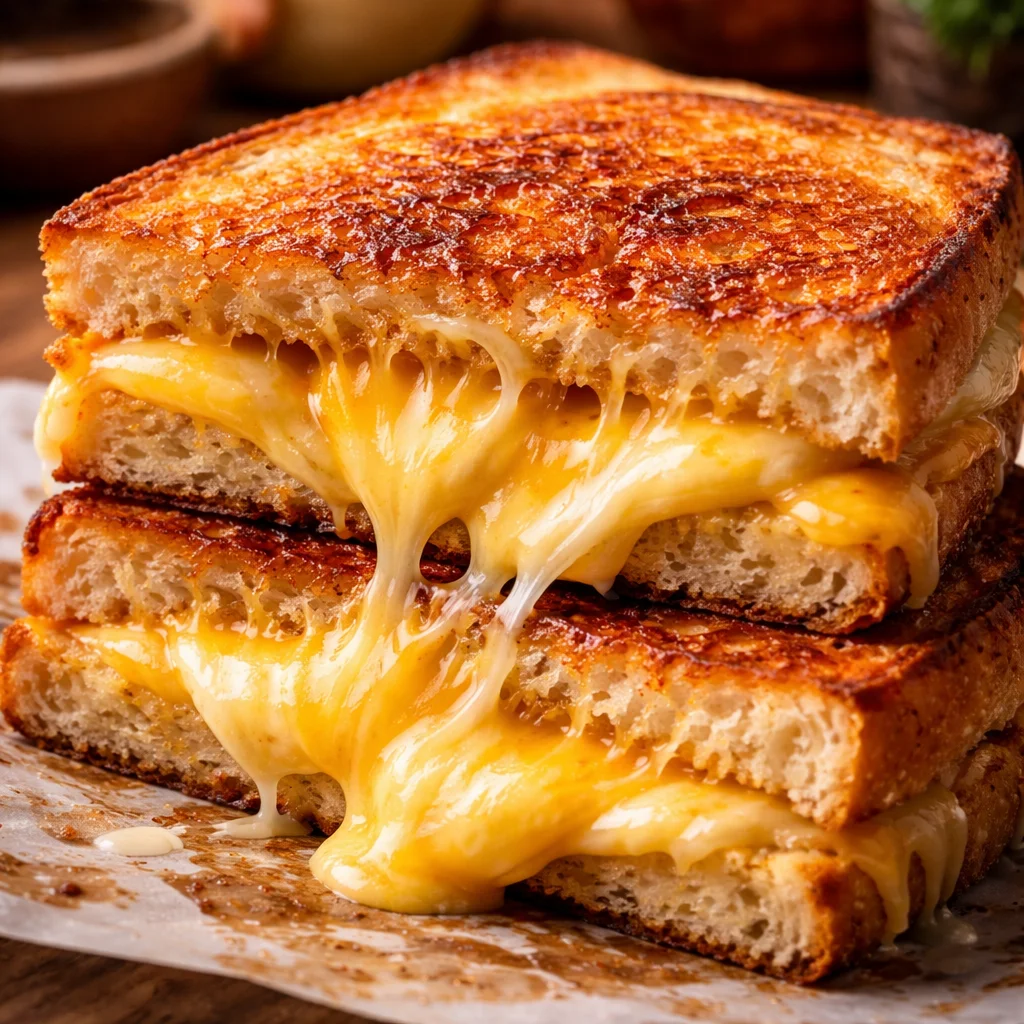
I still remember the first time I flipped a grilled cheese that came out golden, with a soft, gooey center and that toy-story nostalgia you get from a theme-park snack. Disney Grilled Cheese is the simple, comfort-food sandwich that nails that childhood magic — quick enough for a weekday dinner, kid-approved for lunchboxes, and endlessly customizable when you want to elevate it. If you’ve ever wondered how to get the perfect melt without soggy bread, this recipe is a solid place to start. For ideas that add greens or a little extra flair, I sometimes riff off a spinach grilled cheese I love.
Why you’ll love this dish
This grilled cheese is the kind of recipe that delivers maximum comfort with minimal fuss. It’s:
- Fast: About 10 minutes from start to finish.
- Cheap: Pantry staples—bread, butter, and cheese—do most of the heavy lifting.
- Kid-friendly: Mild cheeses like American or cheddar melt well and please picky eaters.
- Versatile: Add tomatoes, bacon, or swap cheeses to match your mood.
If you’re feeding a crowd, it scales easily and stays true to what people expect from that Disney-style sandwich—crispy, buttery exterior and melty, stretchy inside.
“Exactly the sandwich I remember from Toy Story Land — buttery, golden, and satisfyingly gooey. A simple pleasure done right.”
For a seasonal twist, pair it with fruity accents like the apple and cranberry grilled cheese if you want sweet-tart contrast.
Step-by-step overview
Before you start: this recipe is essentially buttered bread + cheese → skillet → flip → melt. Expect a 3–4 minute sear per side on medium heat, which gives you a crisp crust without burning while the cheese has time to fully liquefy. If you plan to add fillings (tomato, bacon), assemble them between the cheese slices so heat circulates evenly. Use a nonstick or well-seasoned cast-iron skillet for the most consistent browning.
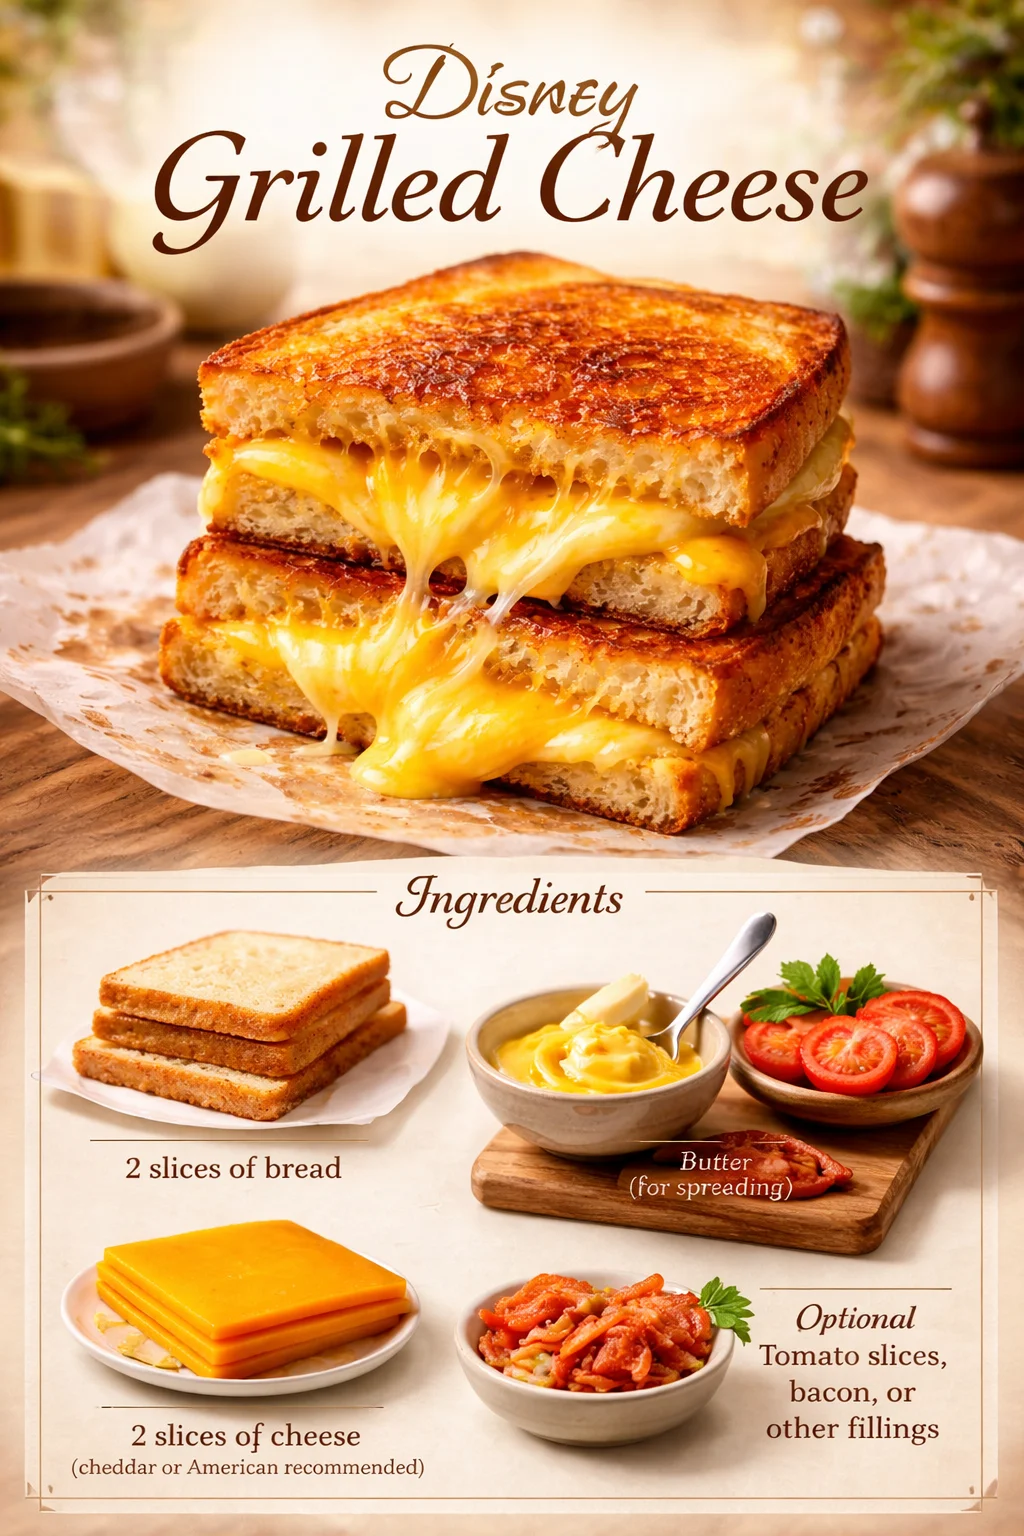
What you’ll need
- 2 slices of bread (white sandwich bread or sourdough both work)
- 2 slices of cheese (cheddar or American recommended for meltability)
- Butter, softened (for spreading evenly on each bread slice)
- Optional fillings: tomato slices, cooked bacon, or other add-ins like caramelized onions
Notes/substitutions:
- Dairy-free? Use a plant-based butter and vegan melting cheese.
- Bread choice affects texture: thicker bread = more chew; thinner = crispier edge.
For a savory onion twist, check this French onion grilled cheese for inspiration.
Cooking method
- Heat a skillet over medium heat until warm but not smoking.
- Butter one side of each bread slice evenly — the buttered side becomes the exterior crust.
- Place one slice of bread, butter-side down, in the skillet.
- Lay the cheese on the bread, then add any optional fillings (tomato, bacon) on top of the cheese. This protects delicate fillings from direct heat.
- Top with the second slice of bread, butter-side up.
- Cook until the bottom is golden brown, about 3–4 minutes. Flip carefully with a spatula and cook the other side until it’s golden and the cheese is fully melted, another 3–4 minutes. Reduce heat slightly if the bread browns too quickly.
- Transfer to a cutting board, let rest 30 seconds, slice, and serve warm.
If you want to experiment with folding the sandwich into a burrito-like shape, here’s a helpful spin on the idea: grilled cheese burrito.
Best ways to enjoy it
This sandwich is wildly flexible when it comes to pairing:
- Classic combo: serve with tomato soup for dunking.
- Crunch contrast: a simple green salad with vinaigrette brightens the richness.
- Snack plate: add pickles, olives, and carrot sticks for a picnic-style spread.
- Kid-friendly plate: cut into fun shapes with a cookie cutter and pair with apple slices.
For a brunch twist, serve alongside a soft-boiled egg or fresh fruit compote.
Storage and reheating tips
Short-term storage:
- Refrigerator: Wrap cooled sandwiches in foil or airtight containers and store up to 3 days. Reheat in a skillet or oven for best texture.
Freezing:
- Wrap tightly in plastic wrap and foil, then store up to 1 month. Reheat from frozen in a 350°F (175°C) oven for 15–20 minutes, turning halfway, until heated through.
Reheating safely:
- Avoid microwaving if you want to keep the crust crisp — a hot skillet or oven restores texture best. If you must microwave, do it briefly and then toast in a skillet for a minute per side.
Always cool sandwiches to room temperature before refrigerating and consume leftovers within recommended timeframes.
Pro chef tips
- Even butter coverage: soften butter and spread with the back of a spoon to avoid clumps that burn.
- Low & slow for melt: if your bread browns too quickly, lower the heat and cover the skillet for 30–60 seconds to help cheese melt.
- Cheese tricks: grate your own cheddar — it melts more evenly than pre-sliced.
- Press lightly after flipping: use a spatula to press just enough for contact, not to smash out the filling.
- Shortcut: spread mayo instead of butter on the outside for an even browning and extra tang (mayo has a higher smoke point).
If you enjoy experiments, try techniques from this creative variation guide: grilled cheese burrito ideas.
Creative twists
- Caprese-style: fresh mozzarella, basil, and tomato with a drizzle of balsamic.
- Bacon + jalapeño: crispy bacon and thinly sliced peppers for heat.
- Breakfast version: add a fried egg and thin ham for a morning sandwich.
- Gluten-free: use GF bread and watch cooking time — it browns faster.
- Fancy melt: swap in Gruyère or fontina for nuttier, more complex flavor.
Small swaps, like switching cheddar for smoked gouda, change the sandwich personality quickly.

Common questions
Q: How long does this take to make?
A: Active time is about 7–10 minutes total: 2 minutes to assemble and around 3–4 minutes per side to cook.
Q: Can I use any cheese?
A: Use meltable cheeses for best results — American, cheddar, fontina, and Gruyère are great. Hard cheeses like Parmesan won’t melt into the same gooey texture.
Q: Can I freeze a grilled cheese?
A: Yes. Wrap tightly and freeze up to 1 month. Reheat in a 350°F oven until heated through and crisped.
Q: Is it OK to add wet fillings like tomato?
A: Yes, but pat tomato slices dry on paper towel to avoid soggy bread. Place tomatoes between cheese layers to shield them from direct heat.
Q: Best way to get an even golden crust?
A: Use medium heat, softened butter spread thinly, and a well-preheated skillet. If needed, reduce heat and cover briefly to ensure the cheese melts before the bread over-browns.
Conclusion
This Disney Grilled Cheese is comfort food with a tiny bit of theme-park nostalgia — easy, fast, and endlessly adaptable. If you want to compare a copycat from the parks or try a slightly different take, the Disney Grilled Cheese Sandwich Recipe from Toy Story Land and the official Grilled Cheese Sandwich Recipe from Toy Story Land are useful references for texture and fillings. Enjoy the melt, and don’t be afraid to make it your own.
Disney Grilled Cheese

Ingredients
Main Ingredients
- 2 slices white sandwich bread or sourdough Choose based on texture preference.
- 2 slices cheddar or American cheese Recommended for best meltability.
- 2 tablespoons butter, softened For spreading on each bread slice.
Optional Fillings
- 1 slices tomato Pat dry to avoid soggy bread.
- 2 pieces cooked bacon Optional addition.
- 1 tablespoon caramelized onions Optional add-in.
Instructions
Preparation
- Heat a skillet over medium heat until warm but not smoking.
- Butter one side of each bread slice evenly — this side will be the exterior crust.
- Place one slice of bread, butter-side down, in the skillet.
- Lay the cheese on the bread, then add any optional fillings on top of the cheese.
- Top with the second slice of bread, butter-side up.
Cooking
- Cook until the bottom is golden brown, about 3–4 minutes.
- Flip carefully with a spatula and cook the other side until golden and cheese is melted, another 3–4 minutes.
- Reduce heat if the bread browns too quickly.
- Transfer to a cutting board, let rest for 30 seconds, slice, and serve warm.