Get ready to indulge in the delightful flavors of Homemade Cherry Vanilla Ice Cream. This recipe offers a refreshing and creamy treat that combines the sweetness of cherries with the aromatic essence of vanilla. Perfect for cooling off on a hot summer day or satisfying your dessert cravings.
Why Make This Recipe
Homemade Cherry Vanilla Ice Cream allows you to enjoy the pure and fresh taste of real cherries and vanilla. By making your own ice cream, you can control the ingredients and customize the flavor to suit your preferences. Plus, it’s a fun and rewarding culinary project that results in a delicious dessert.
How to Make Homemade Cherry Vanilla Ice Cream
Ingredients:
- 2 cups pitted cherries, fresh or frozen
- 1 cup granulated sugar
- 2 cups heavy cream
- 1 cup whole milk
- 1 vanilla bean, split and seeds scraped (or 1 tablespoon vanilla extract)
- Pinch of salt
Directions:
Prepare the Cherry Mixture:
- Cook Cherries: In a medium saucepan, combine the pitted cherries and ½ cup of the sugar. Cook over medium heat, stirring occasionally, until the cherries release their juices and the sugar dissolves, about 10 minutes.
- Blend: Let the mixture cool slightly, then puree in a blender until smooth. Set aside.
Prepare the Cream Mixture:
- Heat Cream Mixture: In a separate saucepan, combine the heavy cream, whole milk, remaining ½ cup of sugar, vanilla bean seeds (or vanilla extract), and a pinch of salt. Heat over medium heat until it just begins to simmer, stirring occasionally.
- Strain: If using a vanilla bean, remove the saucepan from the heat and let it steep for 10 minutes, then strain to remove the bean.
Combine and Chill:
- Mix Cherries and Cream: Whisk the cherry puree into the cream mixture until well combined.
- Chill: Cover and refrigerate the mixture until cold, preferably overnight, to allow the flavors to meld and intensify.
Churn the Ice Cream:
- Churn: Pour the chilled mixture into an ice cream maker and churn according to the manufacturer’s instructions until it reaches a soft-serve consistency.
Freeze Until Firm:
- Freeze: Transfer the churned ice cream to a freezer-safe container and freeze for at least 4 hours, or until firm.
Serve and Enjoy:
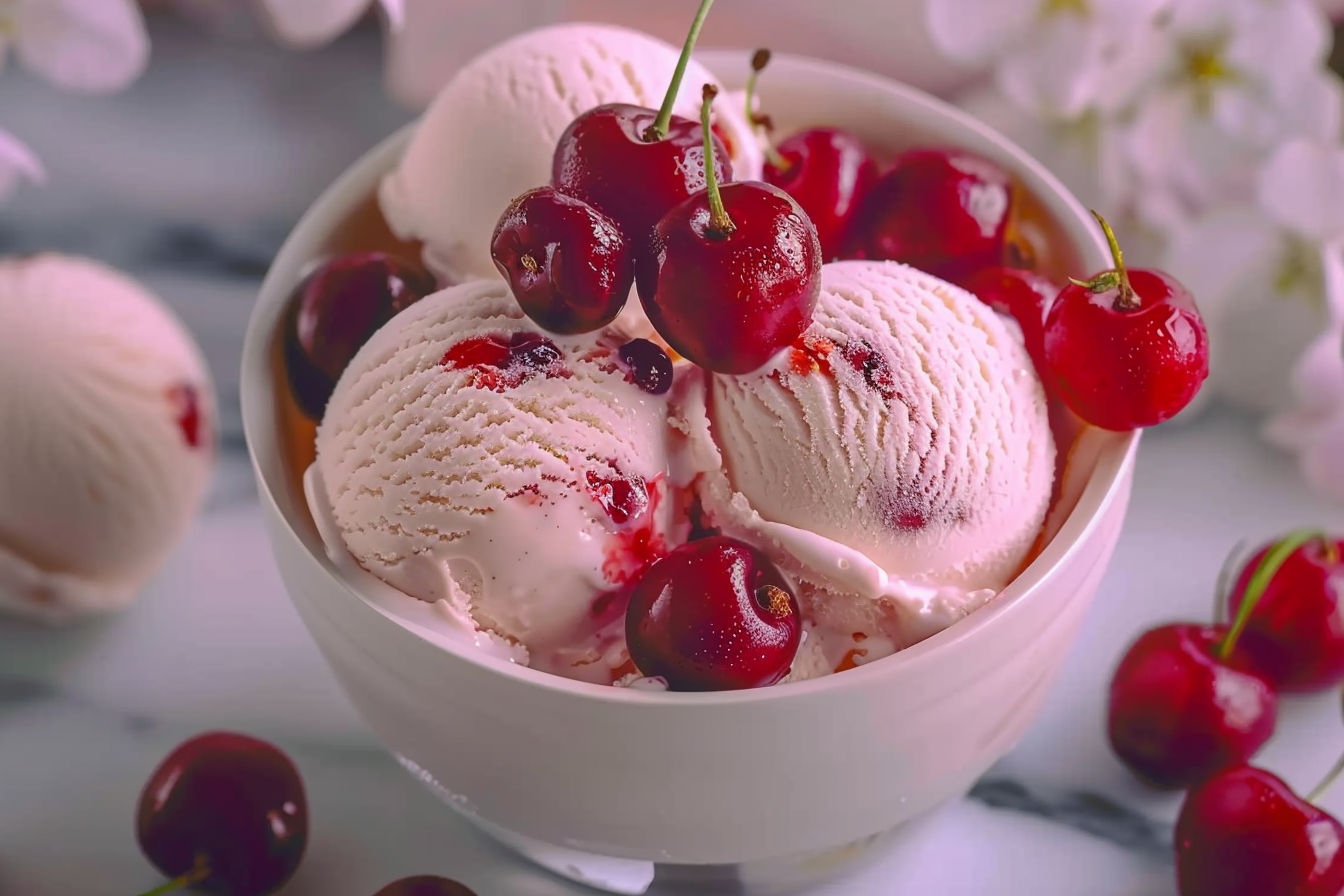
- Scoop and Enjoy: Scoop the homemade cherry vanilla ice cream into bowls or cones and enjoy. Top with fresh cherries or a drizzle of chocolate sauce for an extra touch of sweetness.
How to Serve Homemade Cherry Vanilla Ice Cream
Scoop the ice cream into bowls or cones. Top with fresh cherries or a drizzle of chocolate sauce for an extra touch of sweetness.
How to Store Homemade Cherry Vanilla Ice Cream
Store the ice cream in a freezer-safe container with a tight-fitting lid. It can be kept in the freezer for up to a week. Let it sit at room temperature briefly before scooping for a softer texture.
Tips to Make Homemade Cherry Vanilla Ice Cream
- Use Ripe Cherries: Use ripe and juicy cherries for the best flavor.
- Strain for Smoothness: Strain the cream mixture to ensure a smooth and creamy texture.
- Chill Overnight: Chilling the mixture overnight intensifies the flavors.
Variation
For a twist, you can add chocolate chips or chopped nuts to the ice cream during the last few minutes of churning. This will add a delightful crunch and extra flavor to your cherry vanilla ice cream.
Homemade Cherry Vanilla Ice Cream
Description
Experience the perfect blend of cherries and vanilla in this creamy and refreshing homemade ice cream. Enjoy the delightfully sweet and aromatic flavors with each scoop.Ingredients
Cherry Vanilla Ice Cream
Instructions
How to Make Homemade Cherry Vanilla Ice Cream
-
Prepare the Cherry Mixture
Cook cherries and sugar in a saucepan until cherries release juices and sugar dissolves. Cool slightly, then puree in a blender until smooth. -
Prepare the Cream Mixture
Heat cream, milk, vanilla, and salt until simmering. Strain to remove vanilla bean. -
Combine and Chill
Whisk cherry puree into the cream mixture. Refrigerate until cold, preferably overnight. -
Churn the Ice Cream
Use an ice cream maker to churn the mixture. -
Freeze Until Firm
Transfer churned ice cream to a container and freeze until firm. -
Serve and Enjoy
Scoop and relish the homemade cherry vanilla ice cream.
Nutrition Facts
Servings 8
- Amount Per Serving
- Calories 250kcal
