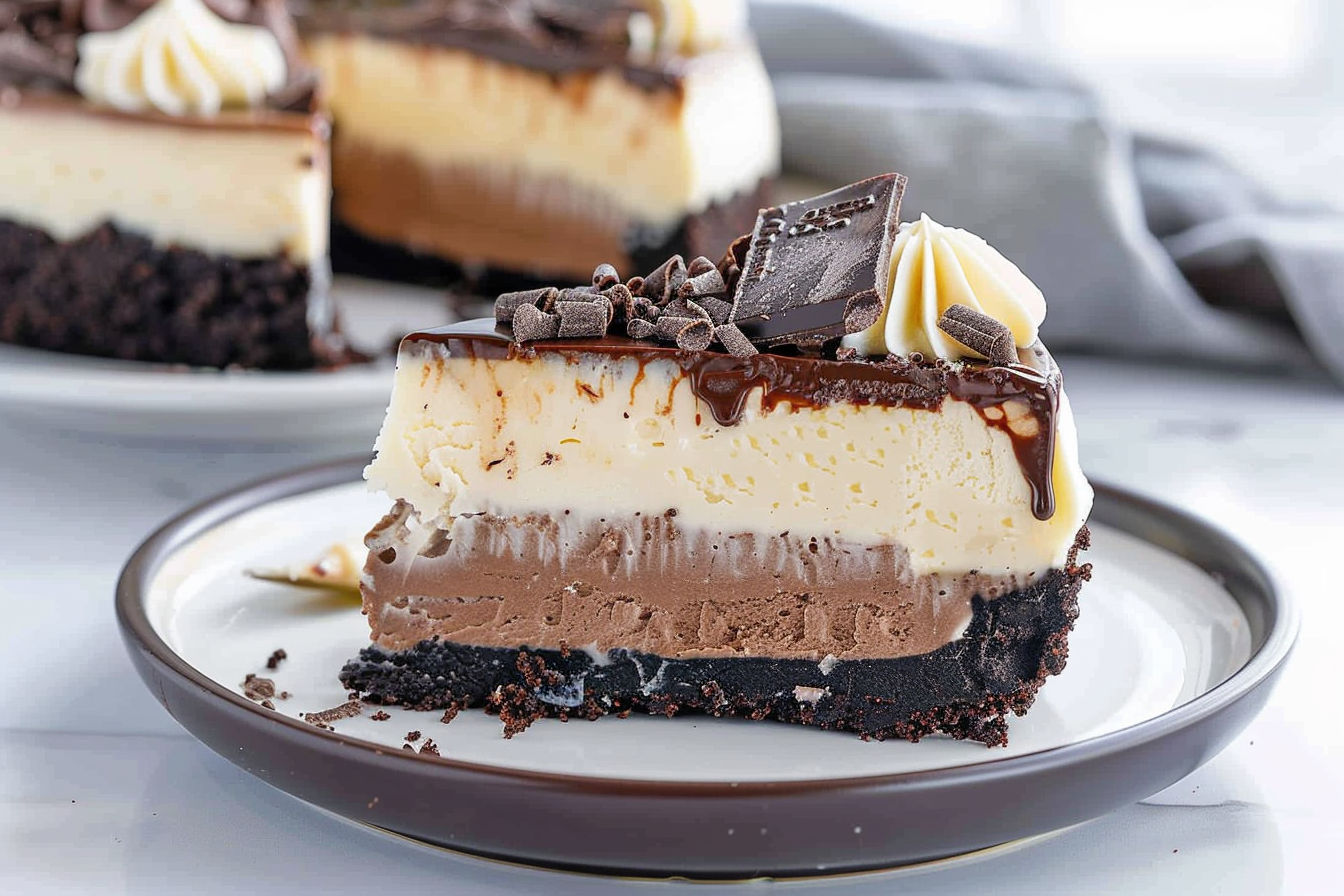
Get ready to indulge in the ultimate decadent treat with Layered Chocolate Cheesecake. This dessert combines the rich flavors of chocolate with the creamy goodness of cheesecake, creating a heavenly combination that is sure to satisfy your sweet tooth.
Why Make This Recipe
If you’re a fan of the classic pairing of chocolate and cheesecake, this recipe is a must-try. The layers of dark and white chocolate on top of a creamy cheesecake base create a luxurious dessert that is perfect for special occasions or whenever you’re craving something sweet and indulgent.
How to Make Layered Chocolate Cheesecake
Ingredients:
- 24 Oreos (wafers and filling)
- 1/4 cup unsalted butter, melted
- 24 ounces full-fat cream cheese, room temperature
- 1 cup granulated sugar
- 4 large eggs, room temperature
- 5 ounces dark chocolate (50-70%)
- 5 ounces white chocolate
- 1 cup whipping cream (or heavy cream)
- Boiling water (for the water bath)
- 4 ounces dark chocolate (or semi-sweet)
- 1/2 cup whipping cream
- 2 ounces white chocolate
Directions:
- Begin by preparing the chocolate topping by melting the dark chocolate with hot cream until smooth.
- Pour the chocolate ganache over the chilled cheesecake and sprinkle with shaved white chocolate. Refrigerate until serving.
How to Serve Layered Chocolate Cheesecake
Serve this exquisite dessert chilled for the best flavor and texture. Use a sharp knife to slice through the layers, ensuring each serving has a perfect combination of chocolate and cheesecake in every bite.
How to Store Layered Chocolate Cheesecake
Store any leftover cheesecake in the refrigerator, covered with plastic wrap or in an airtight container. Enjoy within a few days for the best taste and freshness.
Tips to Make Layered Chocolate Cheesecake
- Use full-fat cream cheese for a rich and creamy texture.
- Ensure all ingredients are at room temperature before mixing to prevent lumps in the batter.
- When pouring the chocolate topping, make sure it is smooth and evenly distributed for a beautiful finish.
Variation
For a twist on this recipe, try adding a layer of raspberry compote between the cheesecake and chocolate topping for a fruity contrast to the rich chocolate flavors.

Layered Chocolate Cheesecake
Description
Indulge in a luxurious combination of rich chocolate and creamy cheesecake with this exquisite Layered Chocolate Cheesecake. Perfect for special occasions or when you're craving a decadent treat.Ingredients
Cheesecake Base
Chocolate Layer
Chocolate Ganache Topping
Directions
Layered Chocolate Cheesecake
-
Step 1
Begin by preparing the chocolate topping by melting the dark chocolate with hot cream until smooth. -
Step 2
Pour the chocolate ganache over the chilled cheesecake and sprinkle with shaved white chocolate. Refrigerate until serving.
Nutrition Facts
Servings 12
- Amount Per Serving
- Calories 350kcal
- % Daily Value *
- Total Fat 22g34%
- Saturated Fat 12g60%
- Cholesterol 120mg40%
- Sodium 200mg9%
- Total Carbohydrate 30g10%
- Dietary Fiber 2g8%
- Sugars 25g
- Protein 5g10%
- Calcium 50 mg
- Iron 2 mg
* Percent Daily Values are based on a 2,000 calorie diet. Your daily value may be higher or lower depending on your calorie needs.

