Red Velvet Cheesecake
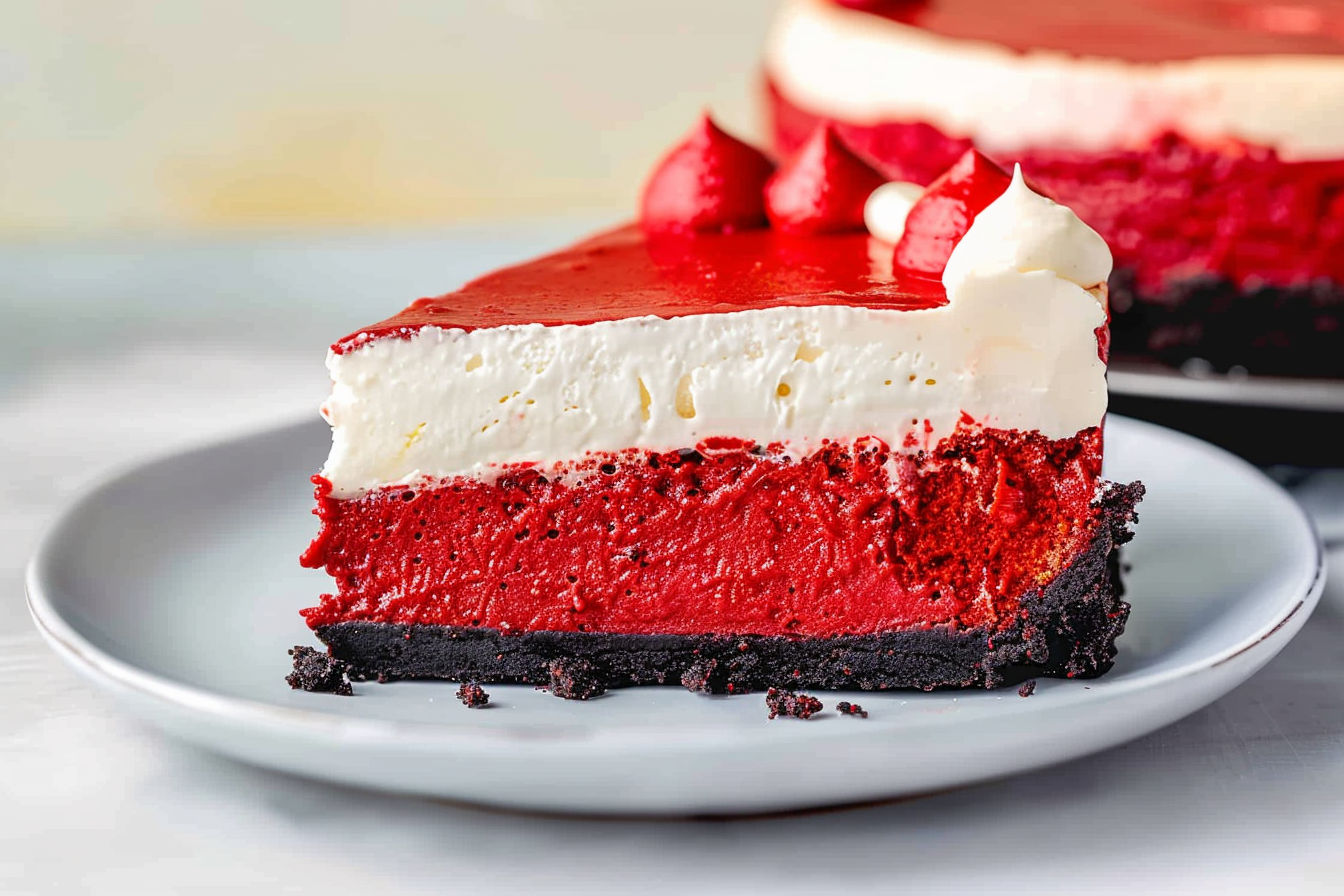
Indulge in the perfect combination of red velvet cake and creamy cheesecake with this delightful Red Velvet Cheesecake recipe. This dessert offers a velvety texture, rich cocoa flavor, and a luscious cream cheese topping that will leave you craving for more.
Why Make This Recipe
If you’re a fan of the classic red velvet flavor and enjoy the creamy goodness of cheesecake, this recipe is a match made in dessert heaven. It’s a decadent treat that is sure to impress your family and guests, perfect for special occasions or a sweet indulgence.
How to Make Red Velvet Cheesecake
Ingredients
- 26 Oreo Cookies (wafers and filling)
- 5 tablespoons unsalted butter, melted
- 24 ounces full-fat cream cheese, room temperature
- 1 1/4 cup granulated sugar
- 3 tablespoons cocoa powder
- 3/4 cup sour cream, room temperature
- 1/4 cup buttermilk
- 2 teaspoons white vinegar
- 1-2 tablespoons liquid red food coloring
- 3 large eggs, room temperature
- 2 large egg yolks
- Boiling water (for the water bath)
- 1/4 cup unsalted butter, softened
- 4 ounces full-fat cream cheese, softened
- 1/4 teaspoon salt
- 1 – 1 1/2 cups powdered sugar
Directions
- Prepare the Oreo Crust by crushing the cookies and mixing with melted butter. Press into the pan and refrigerate.
- Combine cream cheese, sugar, cocoa powder, sour cream, buttermilk, vinegar, and red food coloring. Mix in eggs and egg yolks.
- Pour the batter over the Oreo crust and bake in a water bath.
- Make the Cream Cheese Topping by beating butter, cream cheese, salt, and powdered sugar. Top the cheesecake and chill before serving.
How to Serve Red Velvet Cheesecake
Serve slices of Red Velvet Cheesecake chilled, with an extra dollop of cream cheese frosting on top. Pair it with a cup of coffee or a glass of milk for a delightful dessert experience.
How to Store Red Velvet Cheesecake
Store the cheesecake in the refrigerator, covered, for up to 5 days. Ensure it is in an airtight container to prevent it from absorbing any other flavors.
Tips to Make Red Velvet Cheesecake
- Use gel food coloring for a more vibrant red color.
- Be sure to bring all refrigerated ingredients to room temperature for a smooth batter.
- When serving, use a sharp knife dipped in hot water for clean slices.
Variation
For a twist, you can add chopped pecans or white chocolate shavings to the top of the cheesecake for added texture and flavor.
Red Velvet Cheesecake

Ingredients
Oreo Crust
- 26 cookies Oreo Cookies (wafers and filling)
- 5 tablespoons unsalted butter, melted
Red Velvet Cheesecake
- 24 ounces full-fat cream cheese, room temperature
- 1 1/4 cups granulated sugar
- 3 tablespoons cocoa powder
- 3/4 cup sour cream, room temperature
- 1/4 cup buttermilk
- 2 teaspoons white vinegar
- 1-2 tablespoons liquid red food coloring
- 3 large eggs, room temperature
- 2 large egg yolks
Cream Cheese Topping
- 1/4 cup unsalted butter, softened
- 4 ounces full-fat cream cheese, softened
- 1-1 1/2 cups powdered sugar
Instructions
- Prepare the Oreo Crust by crushing the cookies and mixing with melted butter. Press into the pan and refrigerate.
- Combine cream cheese, sugar, cocoa powder, sour cream, buttermilk, vinegar, and red food coloring. Mix in eggs and egg yolks. Pour the batter over the Oreo crust and bake in a water bath.
- Make the Cream Cheese Topping by beating butter, cream cheese, salt, and powdered sugar. Top the cheesecake and chill before serving.