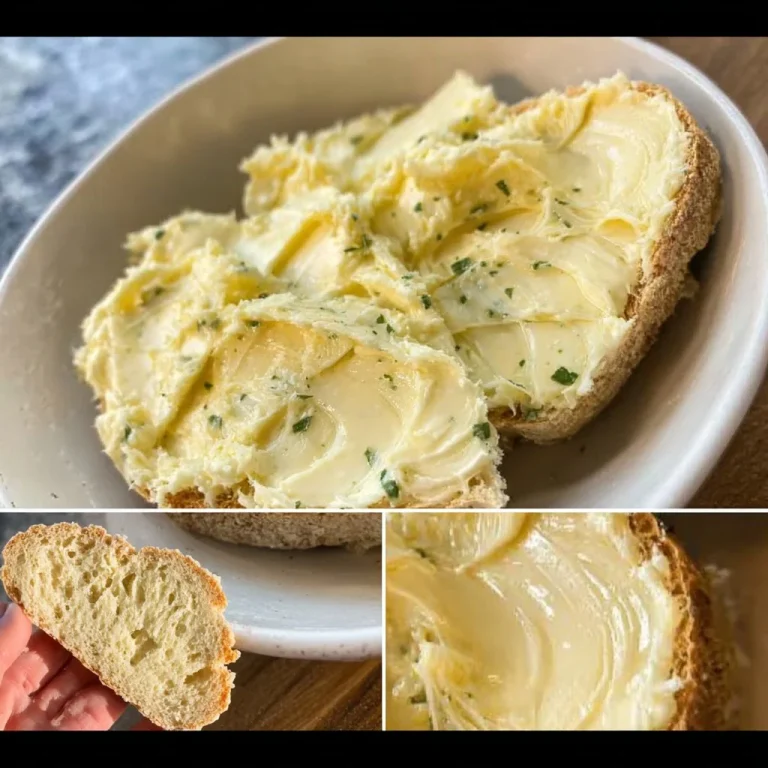
Quick and Easy Drop Biscuits

I’ve made these quick drop biscuits more times than I can count when dinner was running late or guests arrived unexpectedly. They’re the kind of recipe that feels like a cheat — only a few pantry staples, zero rolling or cutting, and warm, tender biscuits out of the oven in under 15 minutes. If you love a fast, comforting side that pairs with everything from soups to weeknight roast chicken, this simple Bisquick-based method will become a go-to.
Why you’ll love this dish
This recipe is all about speed, consistency, and comfort. Using Bisquick (or a similar baking mix) means you skip sifting, measuring multiple leaveners, and worrying about exact ratios. The result is soft, slightly crisp-topped drop biscuits with a rich buttery flavor — and the optional garlic powder gives a savory lift that’s great for dinner or brunch.
- Perfect for busy weeknights when you want something homemade without the fuss.
- Budget-friendly pantry ingredients you probably already have.
- Kid-friendly and easy to tweak (sweet or savory).
- No rolling, no cookie-cutter — just spoon, bake, and serve.
“These biscuits are my weeknight miracle: five minutes of mixing, ten minutes in the oven, and everyone thinks I slaved all afternoon.” — home cook review
Preparing Quick and Easy Drop Biscuits
Quick overview of the process so you know what to expect: combine the dry mix with a bit of sugar and optional garlic for flavor, stir in milk and melted butter until just combined, drop spoonfuls onto a greased sheet, and bake at high heat for a short time so the outsides brown while the centers stay tender. That’s it — no kneading, no chilling.
If you like one-pan weeknight shortcuts, this method sits well alongside other quick dough recipes like this simple quick and easy pizza dough.
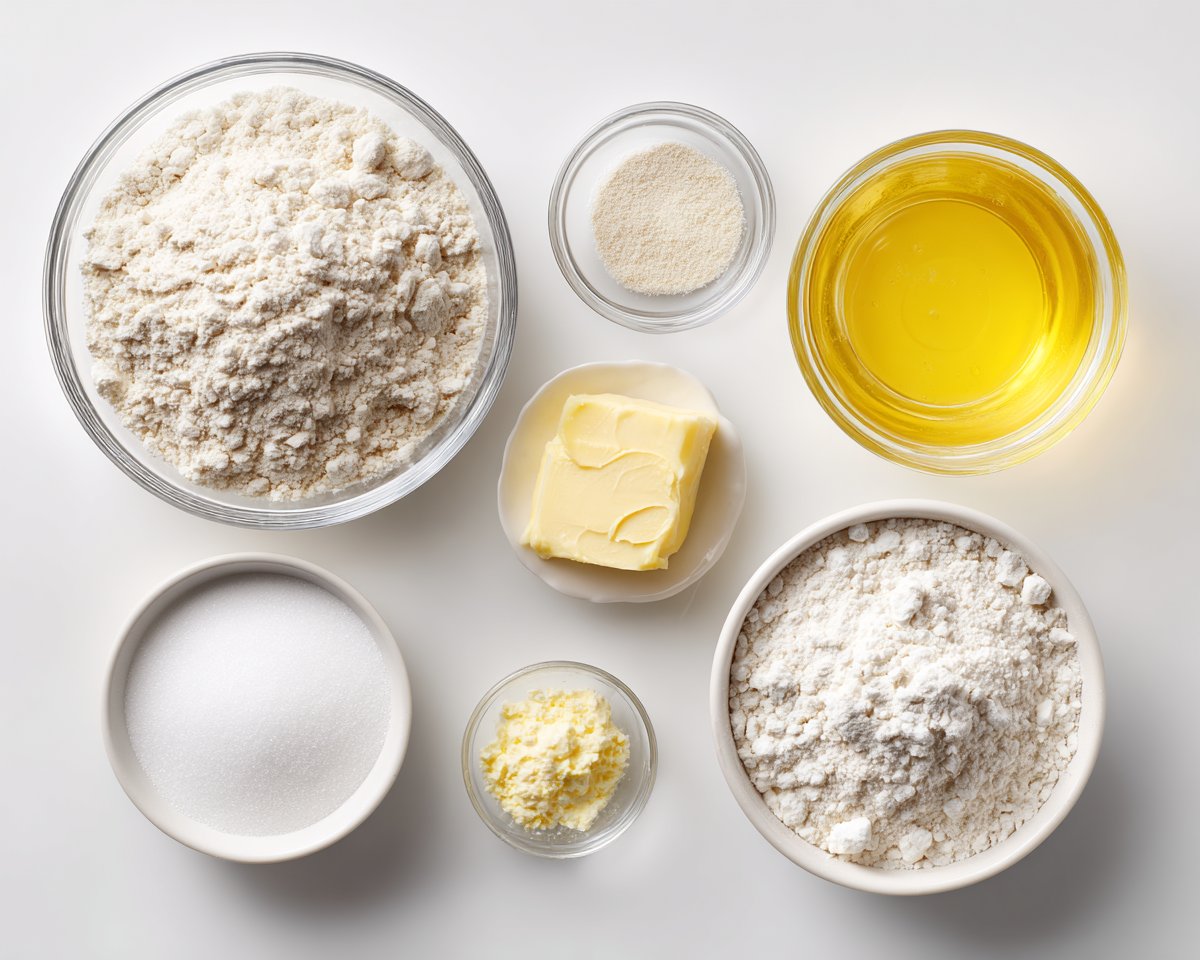
What you’ll need
- 2 cups Bisquick baking mix
- 2/3 cup milk (whole milk for richness; sub with 2% or plant milk like oat for a lighter option)
- 1/4 cup melted butter (for best flavor; use melted coconut oil or butter alternative to make dairy-free)
- 1 tablespoon sugar (balances flavor; omit for a strictly savory biscuit)
- 1/2 teaspoon garlic powder (optional — adds a savory note)
Notes and substitutions:
- Gluten-free: use a gluten-free baking mix labeled for biscuits or make a GF baking mix (ensure xanthan gum if needed).
- Dairy-free: replace milk with unsweetened oat or almond milk and use melted coconut oil or a dairy-free butter.
- Want flaky layers? Use chilled butter cut into the dry mix instead of melted butter and drop quickly.
How to prepare it
- Preheat your oven to 450°F (230°C) and grease a baking sheet or line it with parchment. High heat gives a quick rise and a nicely browned top.
- In a mixing bowl, whisk together the Bisquick, sugar, and garlic powder until evenly combined.
- Pour in the milk and the melted butter. Stir gently with a spatula or spoon just until the ingredients come together — a few lumps are fine. Overmixing develops gluten and makes biscuits tougher.
- Use two spoons (or a cookie scoop) to drop rounded spoonfuls of batter about 2 inches apart onto the prepared sheet. They won’t spread much, so give them room.
- Bake for 8–10 minutes until the tops are golden brown and a toothpick comes out cleanish from the center. Ovens vary; check at 8 minutes.
- Remove from the oven and serve warm. Brush with extra melted butter right away for a glossy finish.
Best ways to enjoy it
These drop biscuits are a versatile side. Try them with:
- A big bowl of chicken noodle or tomato soup for dipping.
- Savory breakfasts: split and fill with scrambled eggs and cheese.
- Classic comfort: serve alongside roast chicken, pot roast, or country gravy.
- Make a biscuit sandwich with leftover roast turkey, cranberry sauce, and greens for a fast mini-sandwich.
For a full weeknight menu, they pair nicely with quick casseroles or enchiladas — try them beside ultimate quick and easy chicken enchiladas for a crowd-pleasing dinner.
Storage and reheating tips
- Short-term: Store cooled biscuits in an airtight container at room temperature for up to 2 days. For best texture, warm them before serving.
- Refrigeration: If your kitchen is hot or you want to keep them longer, refrigerate for up to 4 days. Reheat gently to avoid drying out.
- Freezing: Freeze individually on a tray, then transfer to a zipper bag for up to 2 months. Reheat from frozen in a 350°F (175°C) oven for 8–12 minutes, or microwave briefly and finish in the oven or toaster oven to crisp the exterior.
- Reheating tips: Wrap in foil and warm at 300–325°F (150–165°C) for 10–12 minutes, or microwave 10–15 seconds and then crisp in a hot skillet for a minute. Always check that reheated biscuits reach a pleasant eating temperature — avoid long, high-heat reheats that dry them out.
Food safety: discard any biscuits left out at room temperature for more than 2 hours.
Pro chef tips
- Don’t overmix. Stir until the ingredients just come together; a few dry streaks are okay. Overworked batter yields dense biscuits.
- Use melted butter for flavor and tenderness; add a tablespoon of cold butter bits for a slightly flakier texture.
- Hot oven, quick bake. The high temperature encourages a fast rise; don’t open the oven in the first 6–7 minutes.
- Space drops evenly. They’ll brown better and have more uniform centers when not crowded.
- Try a spoonful of buttermilk in place of regular milk for tang and extra lift. If you don’t have buttermilk, 2/3 cup milk + 1 teaspoon vinegar or lemon juice left for 5 minutes works in a pinch.
Creative twists
- Cheesy herb: Fold in 1/2 cup grated cheddar and 1 tablespoon chopped chives or parsley.
- Sweet version: Omit garlic and add 1 teaspoon vanilla and a pinch of cinnamon; top with a sprinkle of coarse sugar before baking.
- Spicy: Add 1/4–1/2 teaspoon smoked paprika or cayenne with the garlic powder.
- Garlic pull-apart: Brush with garlic butter after baking and top with grated Parmesan.
- Make mini sliders: Use smaller spoonfuls and bake 6–8 minutes for bite-sized sandwich buns.
- Gluten-free swap: Use a reputable gluten-free baking mix and slightly increase the liquid if the dough feels too dry.

Helpful answers
Q: How long does this take from start to finish?
A: Active mixing time is about 5 minutes. With oven preheat and baking, plan on 15–20 minutes total.
Q: Can I make the dough ahead of time?
A: You can mix the batter and refrigerate it for up to 24 hours, but the texture is best if baked shortly after mixing. If refrigerated, let the batter sit at room temperature 10–15 minutes before scooping.
Q: Can I substitute self-rising flour for Bisquick?
A: Not directly because Bisquick also contains fat and salt. If using self-rising flour, you’ll need to adjust by adding baking powder, salt, and fat. For consistent results, use a biscuit or all-purpose baking mix or follow a recipe designed for self-rising flour.
Q: My biscuits were doughy in the center — what went wrong?
A: Likely underbaked or the drops were too large for the time. Check oven temperature with an oven thermometer and test doneness with a toothpick; bake a few more minutes as needed.
Conclusion
If you want more techniques or variations for drop biscuit-style recipes, check out Serious Eats’ detailed take on the method here: Quick and Easy Drop Biscuits Recipe. For another simple, trusted five-ingredient approach, Baker Bettie’s basic drop biscuit guide is also useful: Easy Drop Biscuit Recipe, Homemade Drop Biscuits | Baker Bettie.
Enjoy these biscuits warm, and don’t be afraid to experiment — they’re forgiving and perfect for fast, satisfying meals.
Drop Biscuits

Ingredients
Biscuit Ingredients
- 2 cups Bisquick baking mix
- 2/3 cup milk Use whole milk for richness; sub with 2% or plant milk for a lighter option.
- 1/4 cup melted butter For best flavor; use melted coconut oil for dairy-free option.
- 1 tablespoon sugar Omit for a strictly savory biscuit.
- 1/2 teaspoon garlic powder Optional for savory flavor.
Instructions
Preparation
- Preheat your oven to 450°F (230°C) and grease a baking sheet or line with parchment.
- In a mixing bowl, whisk together the Bisquick, sugar, and garlic powder until well combined.
- Pour in the milk and melted butter. Stir until ingredients are just combined; a few lumps are okay.
- Use two spoons or a cookie scoop to drop spoonfuls of batter about 2 inches apart onto the prepared sheet.
- Bake for 8–10 minutes until tops are golden brown and a toothpick comes out cleanish from the center.
- Remove from oven and serve warm, brushing with extra melted butter for a glossy finish.