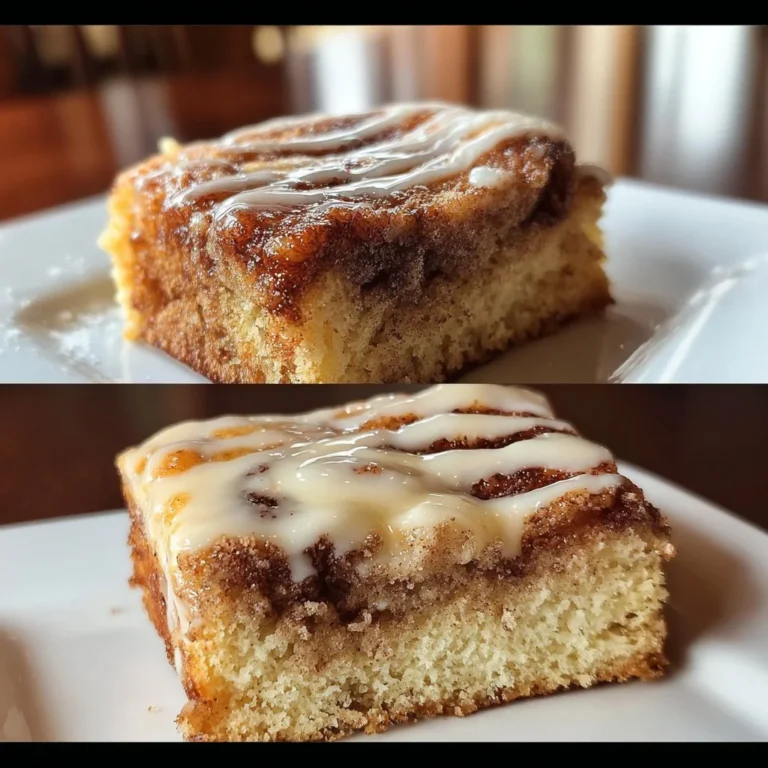
3 Ingredient Biscuit Recipe

My grandmother taught me that the best biscuits are the ones you can make before you finish your coffee. These 3-ingredient homemade biscuits—made with self-rising flour—fit that rule: simple dough, flaky layers, and a golden top with almost no fuss. They’re perfect for rushed mornings, a family brunch, or as the reliable side that always disappears at potlucks.
Why you’ll love this dish
- Fast enough for busy mornings, yet impressive enough for weekend brunch.
- Budget-friendly: pantry staples, no specialty equipment.
- Kid-approved texture: tender inside, lightly crisp outside.
- Versatile: sweet with jam, savory with gravy, or turned into garlic-cheese riffs.
“These biscuits came together in minutes and tasted like something from a bakery—flaky, buttery, and gone in ten minutes.” — a recurring family favorite
If you like experimenting, you’ll find ideas to riff on in this garlic-cheese take I tried recently: Red Lobster garlic-cheese biscuits inspired version.
How this recipe comes together
- Mix: Combine self-rising flour with cold fat until the mixture resembles coarse crumbs.
- Add liquid: Stir in milk (or buttermilk) quickly to bring the dough together.
- Shape: Turn the dough out gently, pat to thickness, and cut biscuits without twisting.
- Bake: High heat for a short time to encourage rise and brown tops.
This is a quick, low-mess process—no rolling pin required if you pat and cut right on the baking sheet.
What you’ll need
- 2 cups self-rising flour (if you don’t have it, see notes below)
- 1/2 cup cold unsalted butter (grated or cut into small cubes)
- 3/4 cup cold milk or buttermilk (start with 3/4 cup; add a tablespoon if too dry)
Notes/substitutions: - Butter vs. shortening: Butter gives flavor; shortening or lard yields tender, flakier layers. Use whichever you prefer.
- Milk choices: Buttermilk adds tang and a slightly better lift. Whole milk works fine; avoid skim if you want richer biscuits.
- No self-rising flour? You can make a quick mix with all-purpose flour + baking powder + salt, but if you want a ready reference for similar homemade biscuits, check this homemade-biscuits guide: Homemade biscuits guide.
Step-by-step instructions
- Preheat the oven to 425°F (220°C). Line a baking sheet or use a cast-iron skillet.
- In a large bowl, add 2 cups self-rising flour. Toss in the cold butter. Use a pastry cutter, two knives, or your fingertips to cut the butter into the flour until pea-sized crumbs form.
- Pour in 3/4 cup cold milk or buttermilk. Stir quickly with a fork until the dough holds together but still looks slightly shaggy. Don’t overmix.
- Turn the dough onto a lightly floured surface. Gently press or pat to a 3/4- to 1-inch thickness. Fold the dough once or twice for layered biscuits, then pat again to thickness.
- Use a floured cutter and press straight down (no twisting) to cut rounds. Re-shape scraps gently—don’t overwork.
- Place biscuits close together on the baking sheet (for taller sides) or apart for crispier edges.
- Brush tops with melted butter if desired. Bake 12–15 minutes, until golden brown on top.
- Serve warm. Let extras cool slightly before storing.

Best ways to enjoy it
- Classic: Split and slather with butter and honey or jam for breakfast.
- Savory: Make open-faced sausage gravy for biscuits and gravy.
- Sandwiches: Use for breakfast sandwiches with egg, cheese, and bacon.
- Party idea: Make mini biscuits and serve with herb butter or pimento cheese.
For a garlicky crowd-pleaser, try topping warm biscuits with garlic-parmesan butter or experimenting with the Red Lobster garlic-cheese biscuit idea. If you want a cozy carb combo, these biscuits also pair well with chewy pretzels or dips in a bread board spread—see an easy soft-pretzels idea here: soft pretzel recipe pairing.
How to store & freeze
- Room temp: Store cooled biscuits in an airtight container for up to 2 days.
- Refrigerator: Keeps 4–5 days but can dry out; reheat gently.
- Freezer: Flash-freeze cooled biscuits on a tray, then transfer to a freezer bag for up to 3 months. Reheat from frozen in a 350°F oven for 10–12 minutes, or thaw overnight in the fridge and warm in the oven.
Food safety: Cool biscuits before sealing to avoid condensation and sogginess. Reheat to 165°F for leftovers if serving to vulnerable eaters.
Helpful cooking tips
- Keep ingredients cold: Cold butter equals better flakiness. Chill the bowl briefly if your kitchen is warm.
- Don’t overmix: Overworking develops gluten and makes biscuits tough.
- Cut straight down: Twisting the cutter seals the edges and prevents proper rise.
- Close together on sheet: For biscuits with soft sides, place them touching. For crisp edges, space them apart.
- Quick butter trick: Brush tops with melted butter immediately after baking for a glossy, buttery finish.
Creative twists
- Cheddar & chive: Fold in 1/2 cup shredded sharp cheddar and 2 tbsp chopped chives.
- Sweet honey butter: Add 2 tbsp honey to melted butter and brush on warm biscuits.
- Herb biscuit: Fold in a tablespoon of chopped fresh rosemary or thyme.
- Gluten-free: Use a 1:1 gluten-free self-rising flour blend and watch liquid absorption—start with slightly less milk.
- Extra-rich: Swap milk for heavy cream for a richer, denser biscuit.

Helpful answers
Q: Can I use all-purpose flour instead of self-rising?
A: Yes—use 2 cups all-purpose flour plus 3 teaspoons baking powder and 1/2 teaspoon salt to mimic self-rising flour. Mix well before adding butter.
Q: How do I get tall, layered biscuits every time?
A: Keep butter very cold, handle dough gently, fold once for layers, and cut straight down without twisting. Baking at a high temp (425°F) helps them puff quickly.
Q: Can I make the dough ahead?
A: You can make the dough and refrigerate for up to 24 hours. Keep it wrapped so it doesn’t dry out. Pat and cut just before baking.
Q: Why are my biscuits dense?
A: Likely overmixing, warm butter, or too much liquid. Use cold fat, mix just until combined, and measure liquids carefully.
Q: What’s the best way to reheat leftovers?
A: Split and warm in a 325–350°F oven for 8–10 minutes (covered with foil for softer results), or microwave briefly for a quick fix—finish with a brush of butter.
Conclusion
These 3-ingredient biscuits are a tiny kitchen miracle—fast, forgiving, and endlessly adaptable. If you want another short, tested method for self-rising flour biscuits, see this helpful write-up: Homemade Self-Rising Flour Biscuits (Just 3 Ingredients!). For an alternative technique and troubleshooting tips from a trusted baking educator, this guide is excellent: Easy 3 Ingredient Self-Rising Flour Biscuits – Baker Bettie.
Enjoy making these biscuits—once you have the rhythm, they’ll become one of your go-to comfort bakes.
3-Ingredient Homemade Biscuits

Ingredients
Main ingredients
- 2 cups self-rising flour If you don’t have self-rising flour, see notes below.
- 1/2 cup cold unsalted butter Grated or cut into small cubes for best results.
- 3/4 cup cold milk or buttermilk Start with 3/4 cup; add more if the mixture is too dry.
Instructions
Preparation
- Preheat the oven to 425°F (220°C). Line a baking sheet or use a cast-iron skillet.
- In a large bowl, add 2 cups self-rising flour. Toss in the cold butter.
- Use a pastry cutter, two knives, or your fingertips to cut the butter into the flour until pea-sized crumbs form.
- Pour in 3/4 cup cold milk or buttermilk. Stir quickly with a fork until the dough holds together but still looks slightly shaggy. Don’t overmix.
- Turn the dough onto a lightly floured surface. Gently press or pat to a 3/4- to 1-inch thickness. Fold the dough once or twice for layered biscuits, then pat again to thickness.
- Use a floured cutter and press straight down (no twisting) to cut rounds. Re-shape scraps gently—don’t overwork.
- Place biscuits close together on the baking sheet (for taller sides) or apart for crispier edges.
- Brush tops with melted butter if desired. Bake for 12–15 minutes, until golden brown on top.
- Serve warm. Let extras cool slightly before storing.