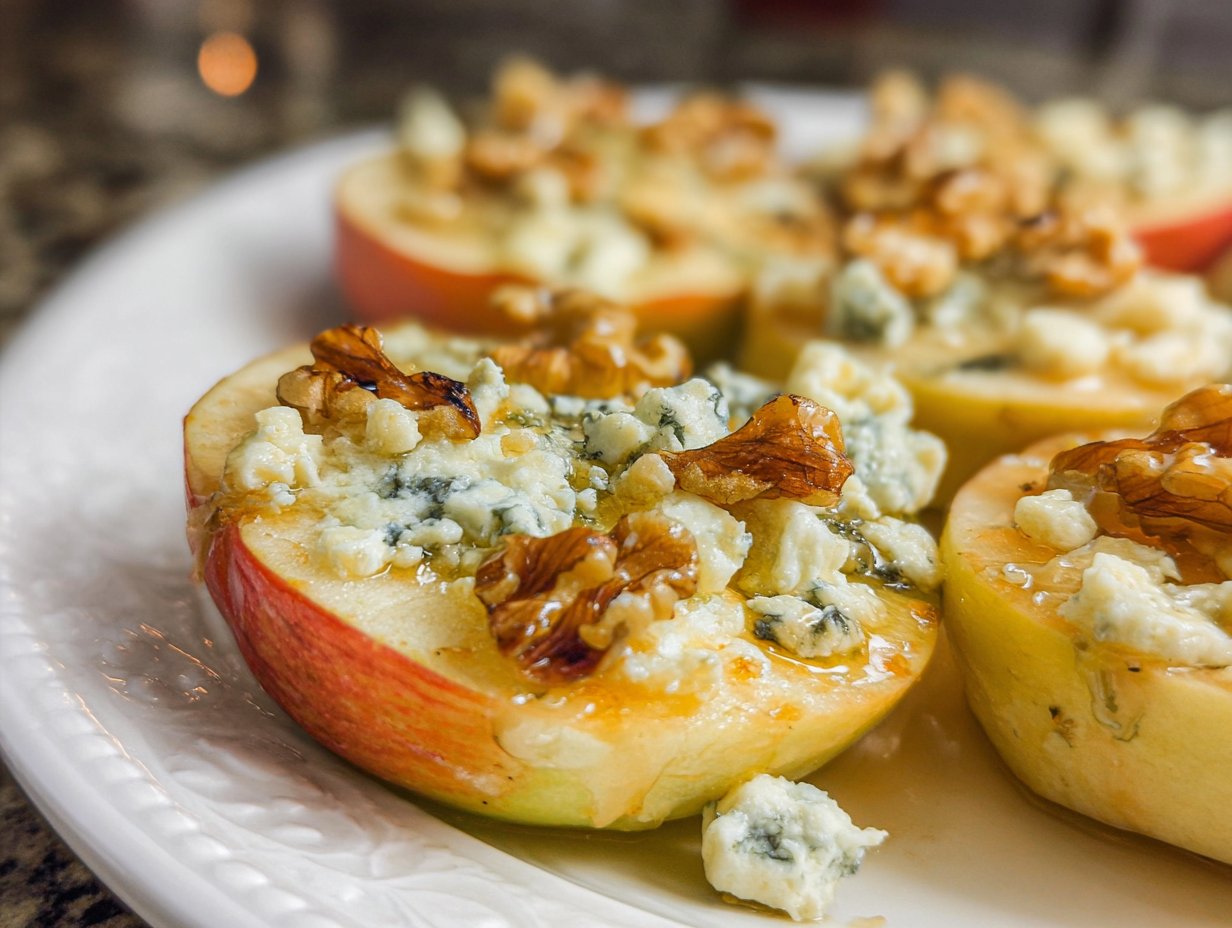
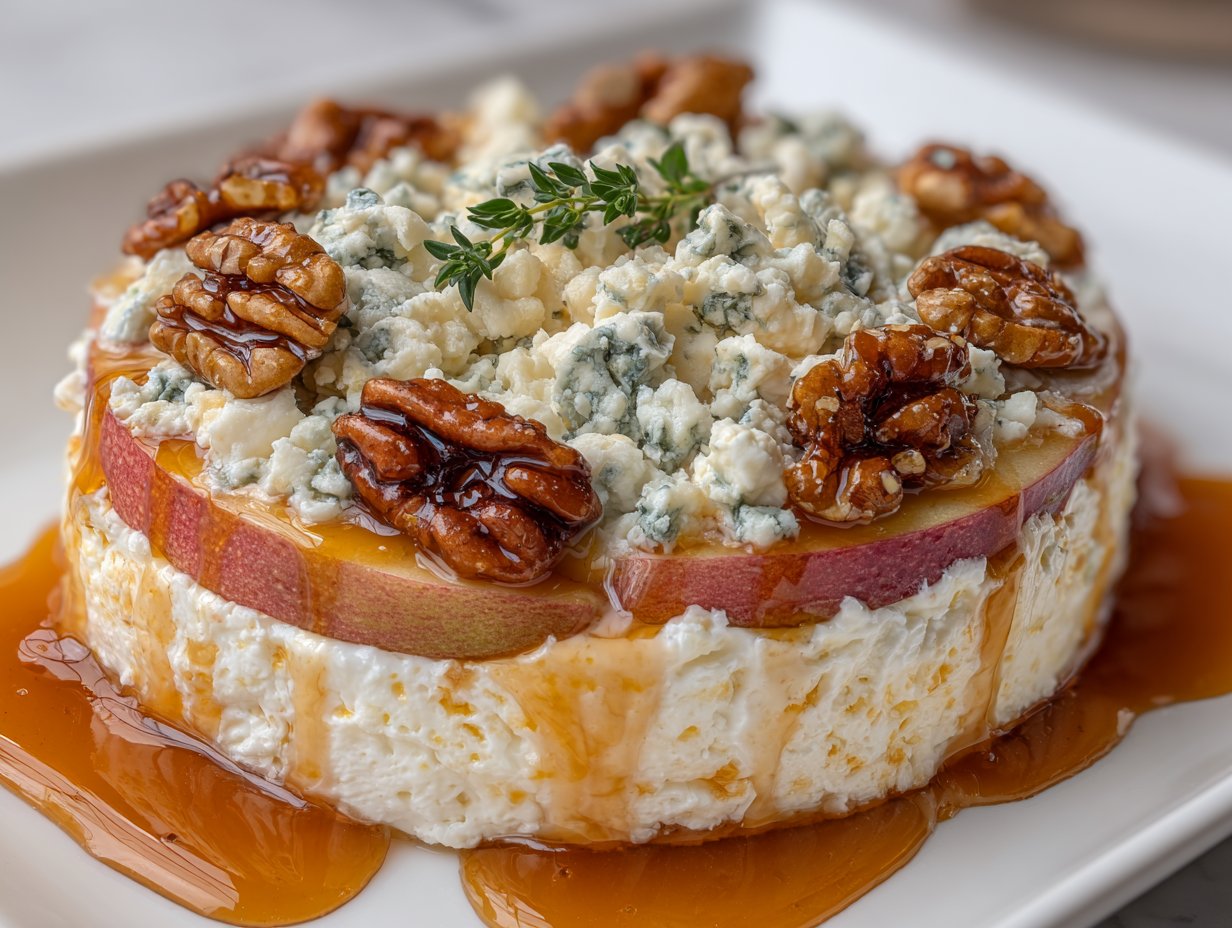
Blue Cheese Apple Appetizer

I first made this Blue Cheese Apple Appetizer for a small holiday get-together and it disappeared before I finished arranging the napkins. Crisp apple slices, salty-tangy blue cheese, crunchy walnuts, and a warm honey drizzle make a tiny plate that tastes far more sophisticated than the four ingredients would suggest. It’s a no-fuss starter or cocktail nibble that’s perfect when you want something bright and elegant without an oven — and it’s a lovely companion to a grilled-cheese tray like this apple and cranberry version I sometimes serve alongside.
Why you’ll love this dish
This appetizer hits a sweet–salty–textural trifecta: juicy apples, creamy sharp blue cheese, and crunchy walnuts finished with flowing honey. It’s quick to assemble, requires no cooking, and scales effortlessly from a two-person snack to a party platter.
“Simple, showy, and addictive — I served it at brunch and everyone asked for seconds.” — a regular at my kitchen table
Perfect occasions:
- Last-minute hors d’oeuvres for holiday parties.
- Light starter for dinner when you want something fresh.
- Brunch platter addition next to richer items.
- Cheese course on a wine board.
Step-by-step overview
- Slice apples thinly and arrange them on a platter.
- Crumble blue cheese evenly over the apples.
- Scatter chopped walnuts for crunch.
- Warm honey slightly and drizzle right before serving so it stays glossy.
This appetizer takes about 10 minutes from start to finish and requires nothing more than a knife, small bowl, and spoon.
What you’ll need
- 2 apples, thinly sliced (see notes on variety below)
- 1/4 cup walnuts, roughly chopped (toast optional)
- 1/2 cup Salemville Blue Cheese, crumbled (or any good-quality blue)
- 1/4 cup honey, warmed briefly
Substitution notes:
- If you don’t have Salemville, use Gorgonzola dolce for a milder blue or Roquefort for a punchier flavor.
- Swap walnuts for pecans or toasted almonds for a different crunch.
- Use maple syrup instead of honey for a deeper, woodsy sweetness.
Directions to follow
- Wash and dry the apples. Core if preferred, then slice into thin rounds or half-moons. Aim for uniform thickness so every bite is balanced.
- Lay the apple slices in a single layer on a serving platter, slightly overlapping for an attractive presentation.
- Scatter the crumbled blue cheese evenly over the apples. Break any large chunks so the cheese melts slightly against the warm honey later.
- Sprinkle the chopped walnuts on top, making sure they’re distributed across the platter.
- Warm the honey: place it in a microwave-safe dish and heat for about 15–20 seconds until runny but not boiling. Stir and test a small drop.
- Drizzle the warm honey over the apples, cheese, and walnuts just before serving. The warmth will soften the cheese a touch and make the platter glisten.
- Serve immediately with small forks or toothpicks.
Best ways to enjoy it
This appetizer is lovely on its own but plays well with other elements:
- Serve alongside charcuterie and crackers for a casual wine night.
- Spoon onto toasted baguette slices to make quick crostini.
- Add a bed of baby arugula under the apples for peppery contrast.
- Pair with a chilled white like Sauvignon Blanc or a light-bodied Riesling.
For a fuller brunch spread, I sometimes pair this with sweeter baked items such as an apple-butter cheesecake; the contrast keeps the table interesting and balanced. You can also place it next to a warm, buttery tart for guests to mix and match textures and flavors (try my favorite apple cheesecake crumb pie for a dessert companion).
Storage and reheating tips
- Best consumed immediately. The honey and blue cheese are most vibrant right after assembly.
- Short-term storage: If you must hold leftovers, cover the platter tightly with plastic wrap and refrigerate for up to 24 hours. Note: apple slices will begin to brown and soften, and walnuts may lose some crunch.
- Do not freeze assembled platter—apple texture and cheese both suffer on thawing.
- If prepping components ahead: slice apples and toss briefly with lemon juice to slow browning (about 1/2 teaspoon lemon juice per apple). Store cheese and walnuts separately in airtight containers and assemble just before serving.
- Food safety: keep the platter refrigerated until 15 minutes before serving; do not leave at room temperature longer than two hours (one hour if the ambient temp is above 90°F).
Pro chef tips
- Choose the right apple: Honeycrisp, Pink Lady, or Fuji give great crunch and sweetness that stands up to blue cheese. Granny Smith adds bright tartness if you want more contrast.
- Toast walnuts for extra flavor: 5–7 minutes in a 350°F oven or in a dry skillet until fragrant. Let cool before chopping.
- Crumble cheese with your hands for more rustic bite-sized pieces. Room-temperature cheese spreads more luxuriously under warm honey.
- Warm the honey gently — too hot and it will overpower the cool apples and soften the cheese too much.
- For a prettier platter, alternate colors of apple slices or fan them in concentric circles.
Creative twists
- Add prosciutto ribbons for a salty, meaty element.
- Swap apples for thinly sliced pears in fall for a softer, sweeter bite.
- Drizzle with a little balsamic reduction instead of honey for a tangy finish.
- Turn it into a tartine: place on toasted brioche and broil for a minute to melt the cheese slightly.
- Make it vegan: use dairy-free blue-style cheese and maple syrup as the drizzle; use toasted pepitas instead of walnuts.
Common questions
Q: How long does this take to make?
A: About 10 minutes from start to finish. If you’re toasting nuts or prepping ahead, add another 10–15 minutes.
Q: Can I make this ahead of time?
A: You can prep components (slice apples tossed in lemon, toast nuts, crumble cheese) up to a day ahead. Assemble only minutes before serving to avoid soggy apples and smeared cheese.
Q: What apple variety is best?
A: Honeycrisp, Fuji, and Pink Lady are excellent for their crispness and sweet-tart balance. Use Granny Smith for a tangier bite.
Q: Is this safe for vegetarians?
A: Yes, this recipe is vegetarian-friendly. It’s not vegan unless you use plant-based blue cheese and substitute maple syrup for honey.
Q: How many does this serve?
A: As an appetizer, this serves 4–6 people. For cocktail grazing, expect it to serve 6–8 depending on portion sizes.
Conclusion
If you want a closely related plated idea with similar flavor combinations, check out this Blue Cheese Apple Appetizer from Meals with Maggie for another simple presentation. For inspiration on turning apple and cheese into a baked bite, take a look at these Easy Apple and Blue Cheese Tarts from Tara Teaspoon.
Blue Cheese Apple Appetizer

Ingredients
Main Ingredients
- 2 pieces apples, thinly sliced Honeycrisp, Pink Lady, or Fuji are great choices.
- 1/4 cup walnuts, roughly chopped Toasting walnuts is optional.
- 1/2 cup Salemville Blue Cheese, crumbled Any good-quality blue cheese can be used.
- 1/4 cup honey, warmed briefly Warm honey to make it drizzle easily.
Instructions
Preparation
- Wash and dry the apples. Core if preferred, then slice into thin rounds or half-moons. Aim for uniform thickness.
- Lay the apple slices in a single layer on a serving platter, slightly overlapping for an attractive presentation.
- Scatter the crumbled blue cheese evenly over the apples, breaking large chunks if necessary.
- Sprinkle the chopped walnuts on top.
- Warm the honey in a microwave-safe dish for about 15–20 seconds until runny but not boiling.
- Drizzle the warm honey over the apples, cheese, and walnuts just before serving.
- Serve immediately with small forks or toothpicks.